
Need a Home Climbing Gym Floor? Here's how to build it!
Building a home gym is a monumental task! Once the climbing wall is built, you’d think the biggest hurdle is over. But a safe landing area is just as important, and can be just as overwhelming. There are many options for foam and foam coverings, making it difficult to know which is right for a climbing wall. I spent weeks reading about foam, cold-calling foam companies, and driving around to different fabric stores learning about vinyl coverings. Here is my journey of building a safe landing!
1. Choosing the foam type
There are two main types of foam used in climbing gym floors- open cell foam and closed cell foam. Some gyms opt for just open cell foam and some prefer a mix of open and closed cell. I wanted to build my floor like a giant Organic crashpad, so I needed a sandwich of open and closed cell foam. The closed cell foam goes on the top and bottom to form a sandwich around the softer open cell foam. I bought my foam from The Foam Factory. This was my second time ordering from them and have been happy with the quality both times. For the closed cell foam, I bought 2.2lb Polyethylene foam. For the open cell foam, I bought the Lux HQ. I talked to the company to discuss the differences between the different types of open cell foam they offer. I decided on the Lux R because it was soft enough to land on, but not too soft to bottom out. I debated getting the Lux-HQ because it is supposed to last several years longer than the Lux R, but it is also stiffer. Having a soft landing was the most important feature for me, so I went with the Lux R.
Here is a good resource for more reading about foam: https://www.thefoamfactory.com/blog/index.php/climb-higher-with-confidence-using-bouldering-crash-pads
2. Choosing the foam depth
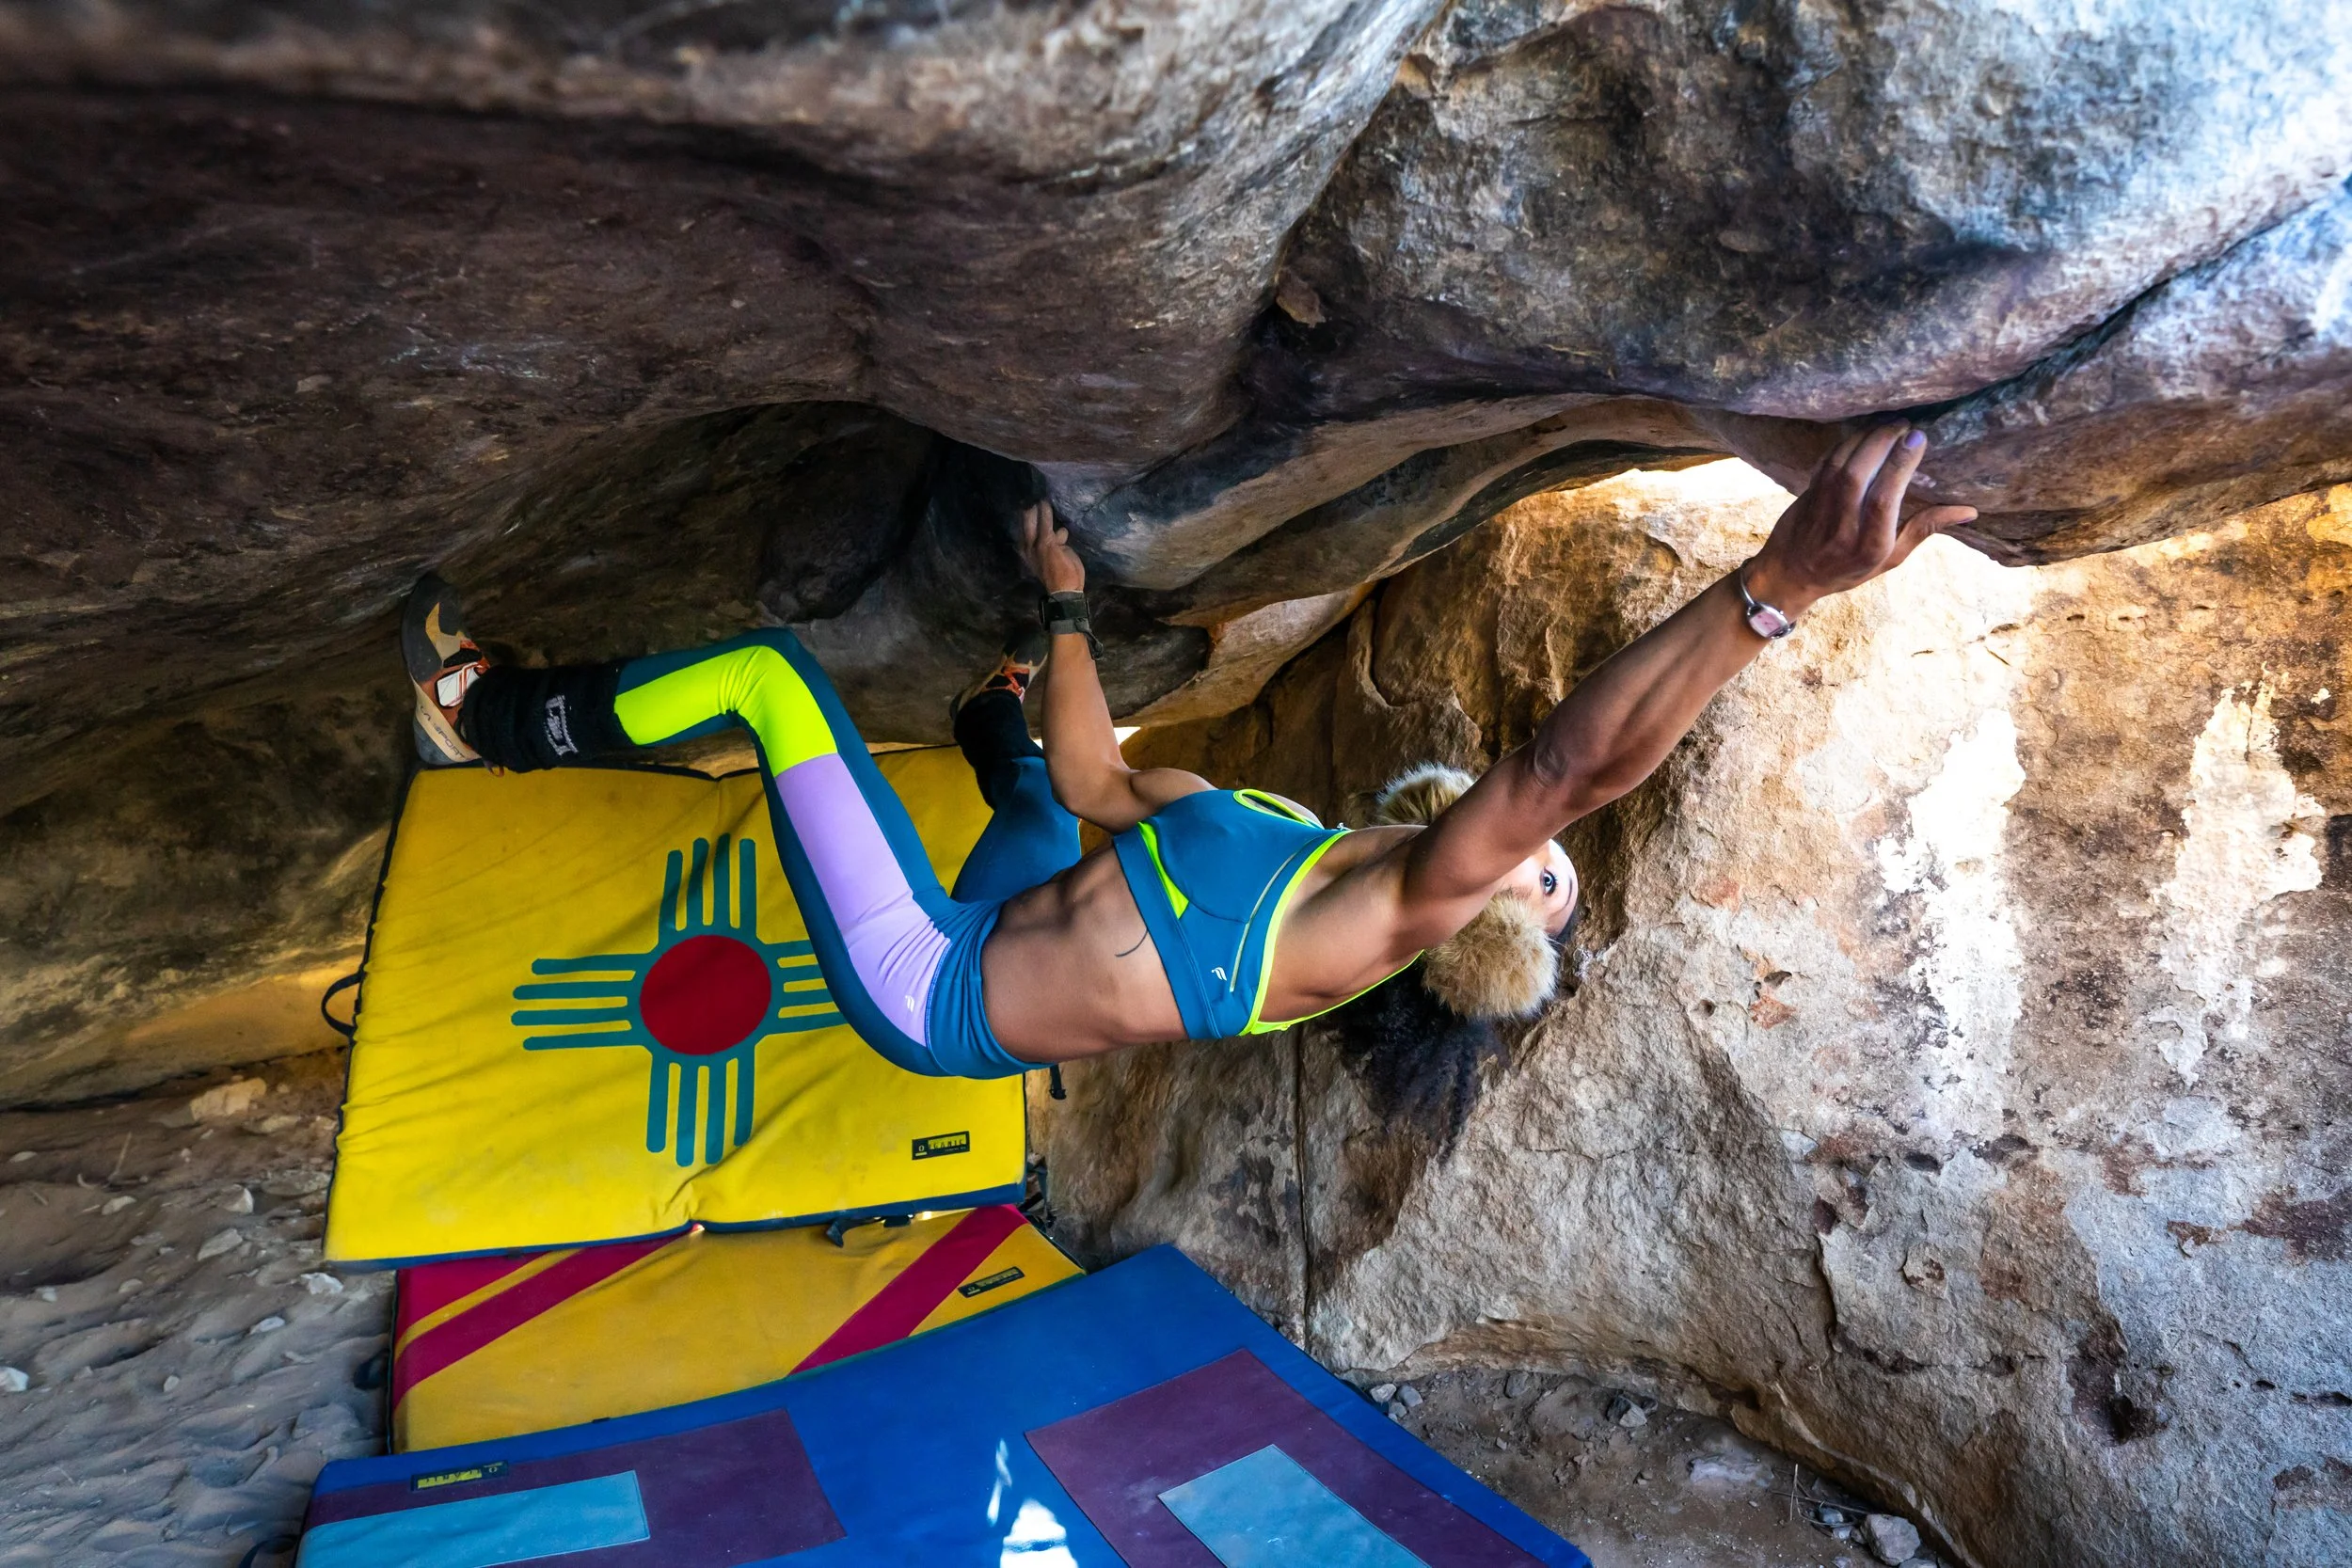
I heard as a rule of thumb that you want one inch of foam for every foot you are going to fall. I didn’t use this rule because I wanted as much foam as possible to land on. Since my wall is adjustable, I needed my landing area to be adjustable as well. When the wall is at 80 degrees, I wanted 4 inches of foam, even though I might only be falling one inch. When the wall is at 55 degrees, I wanted nearly 2 feet of foam. I chose the 4 inches of foam by climbing the wall at 80 degrees with pads of various thickness. I found that 5 inches made it impossible to climb without dabbing, but at 4 inches, I could climb dab free when climbing with good form. The four inch pad was going to be a non-moveable base for my landing area. Then when I wanted to climb at 55 degrees, I would add crashpads on top. The four inch pad was constructed of two pieces of 1/2 inch polyethylene closed foam and one piece of 3 inch Lux R open cell foam.
3. Choosing the cover
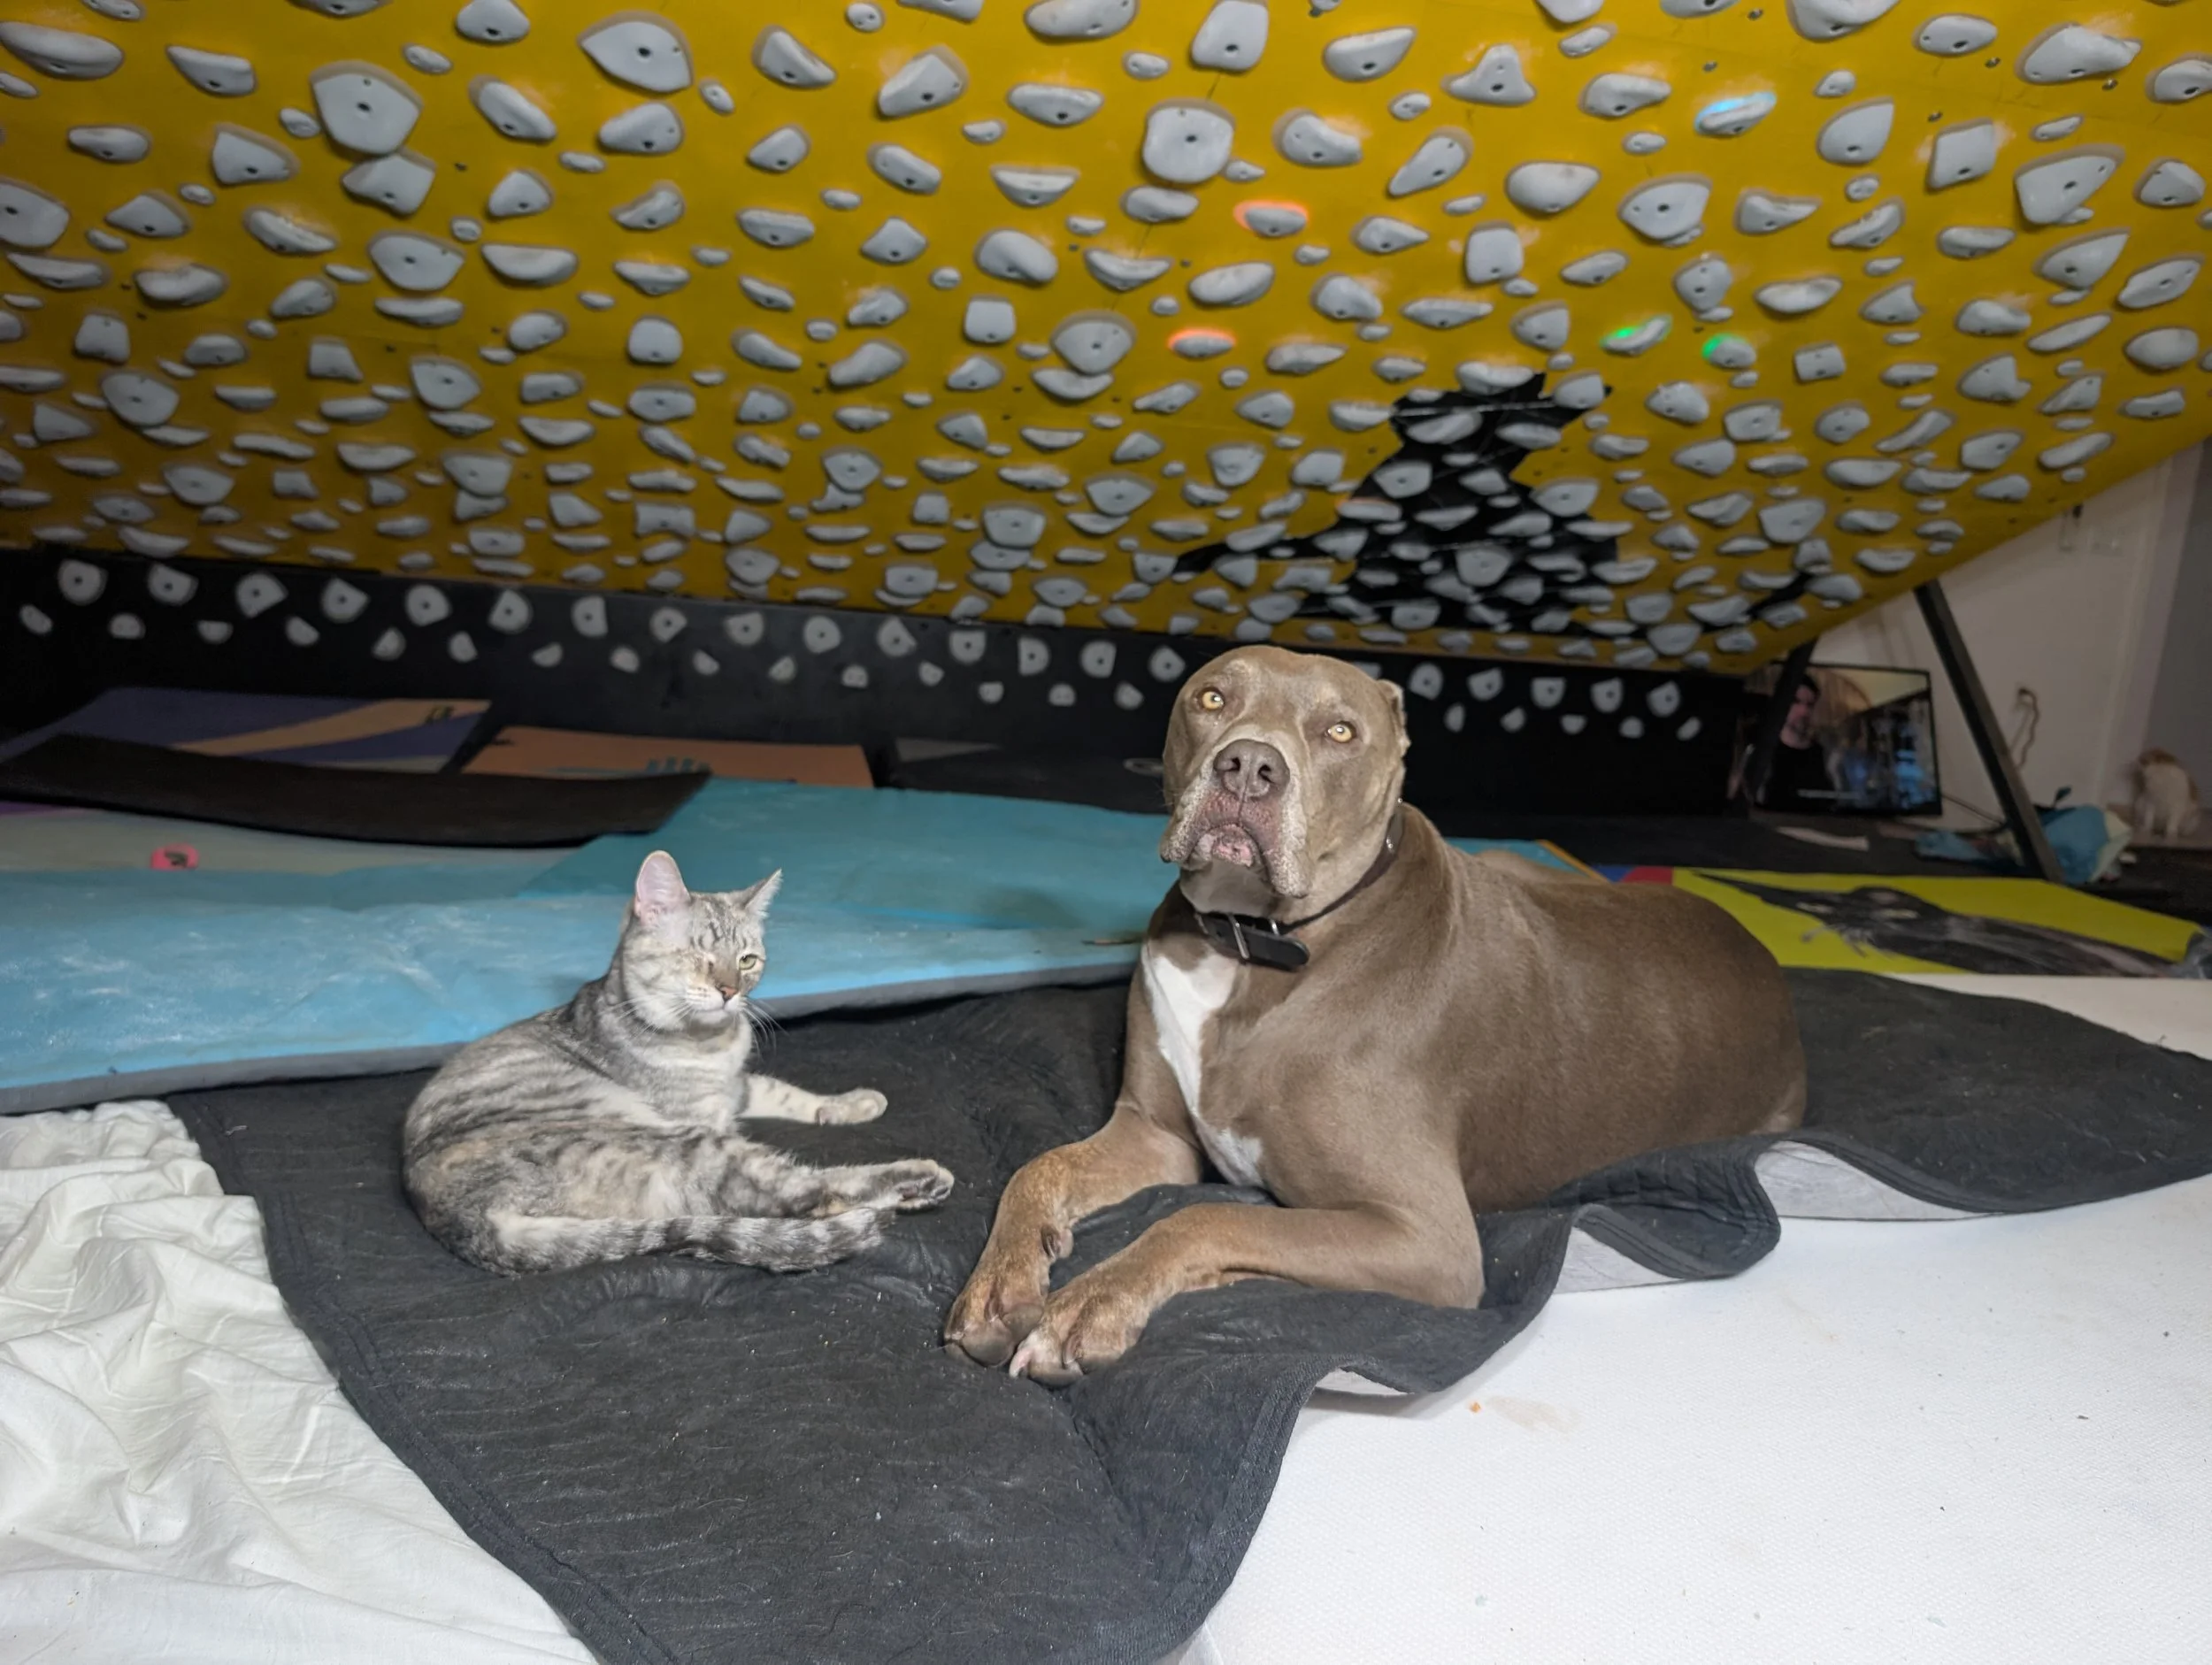
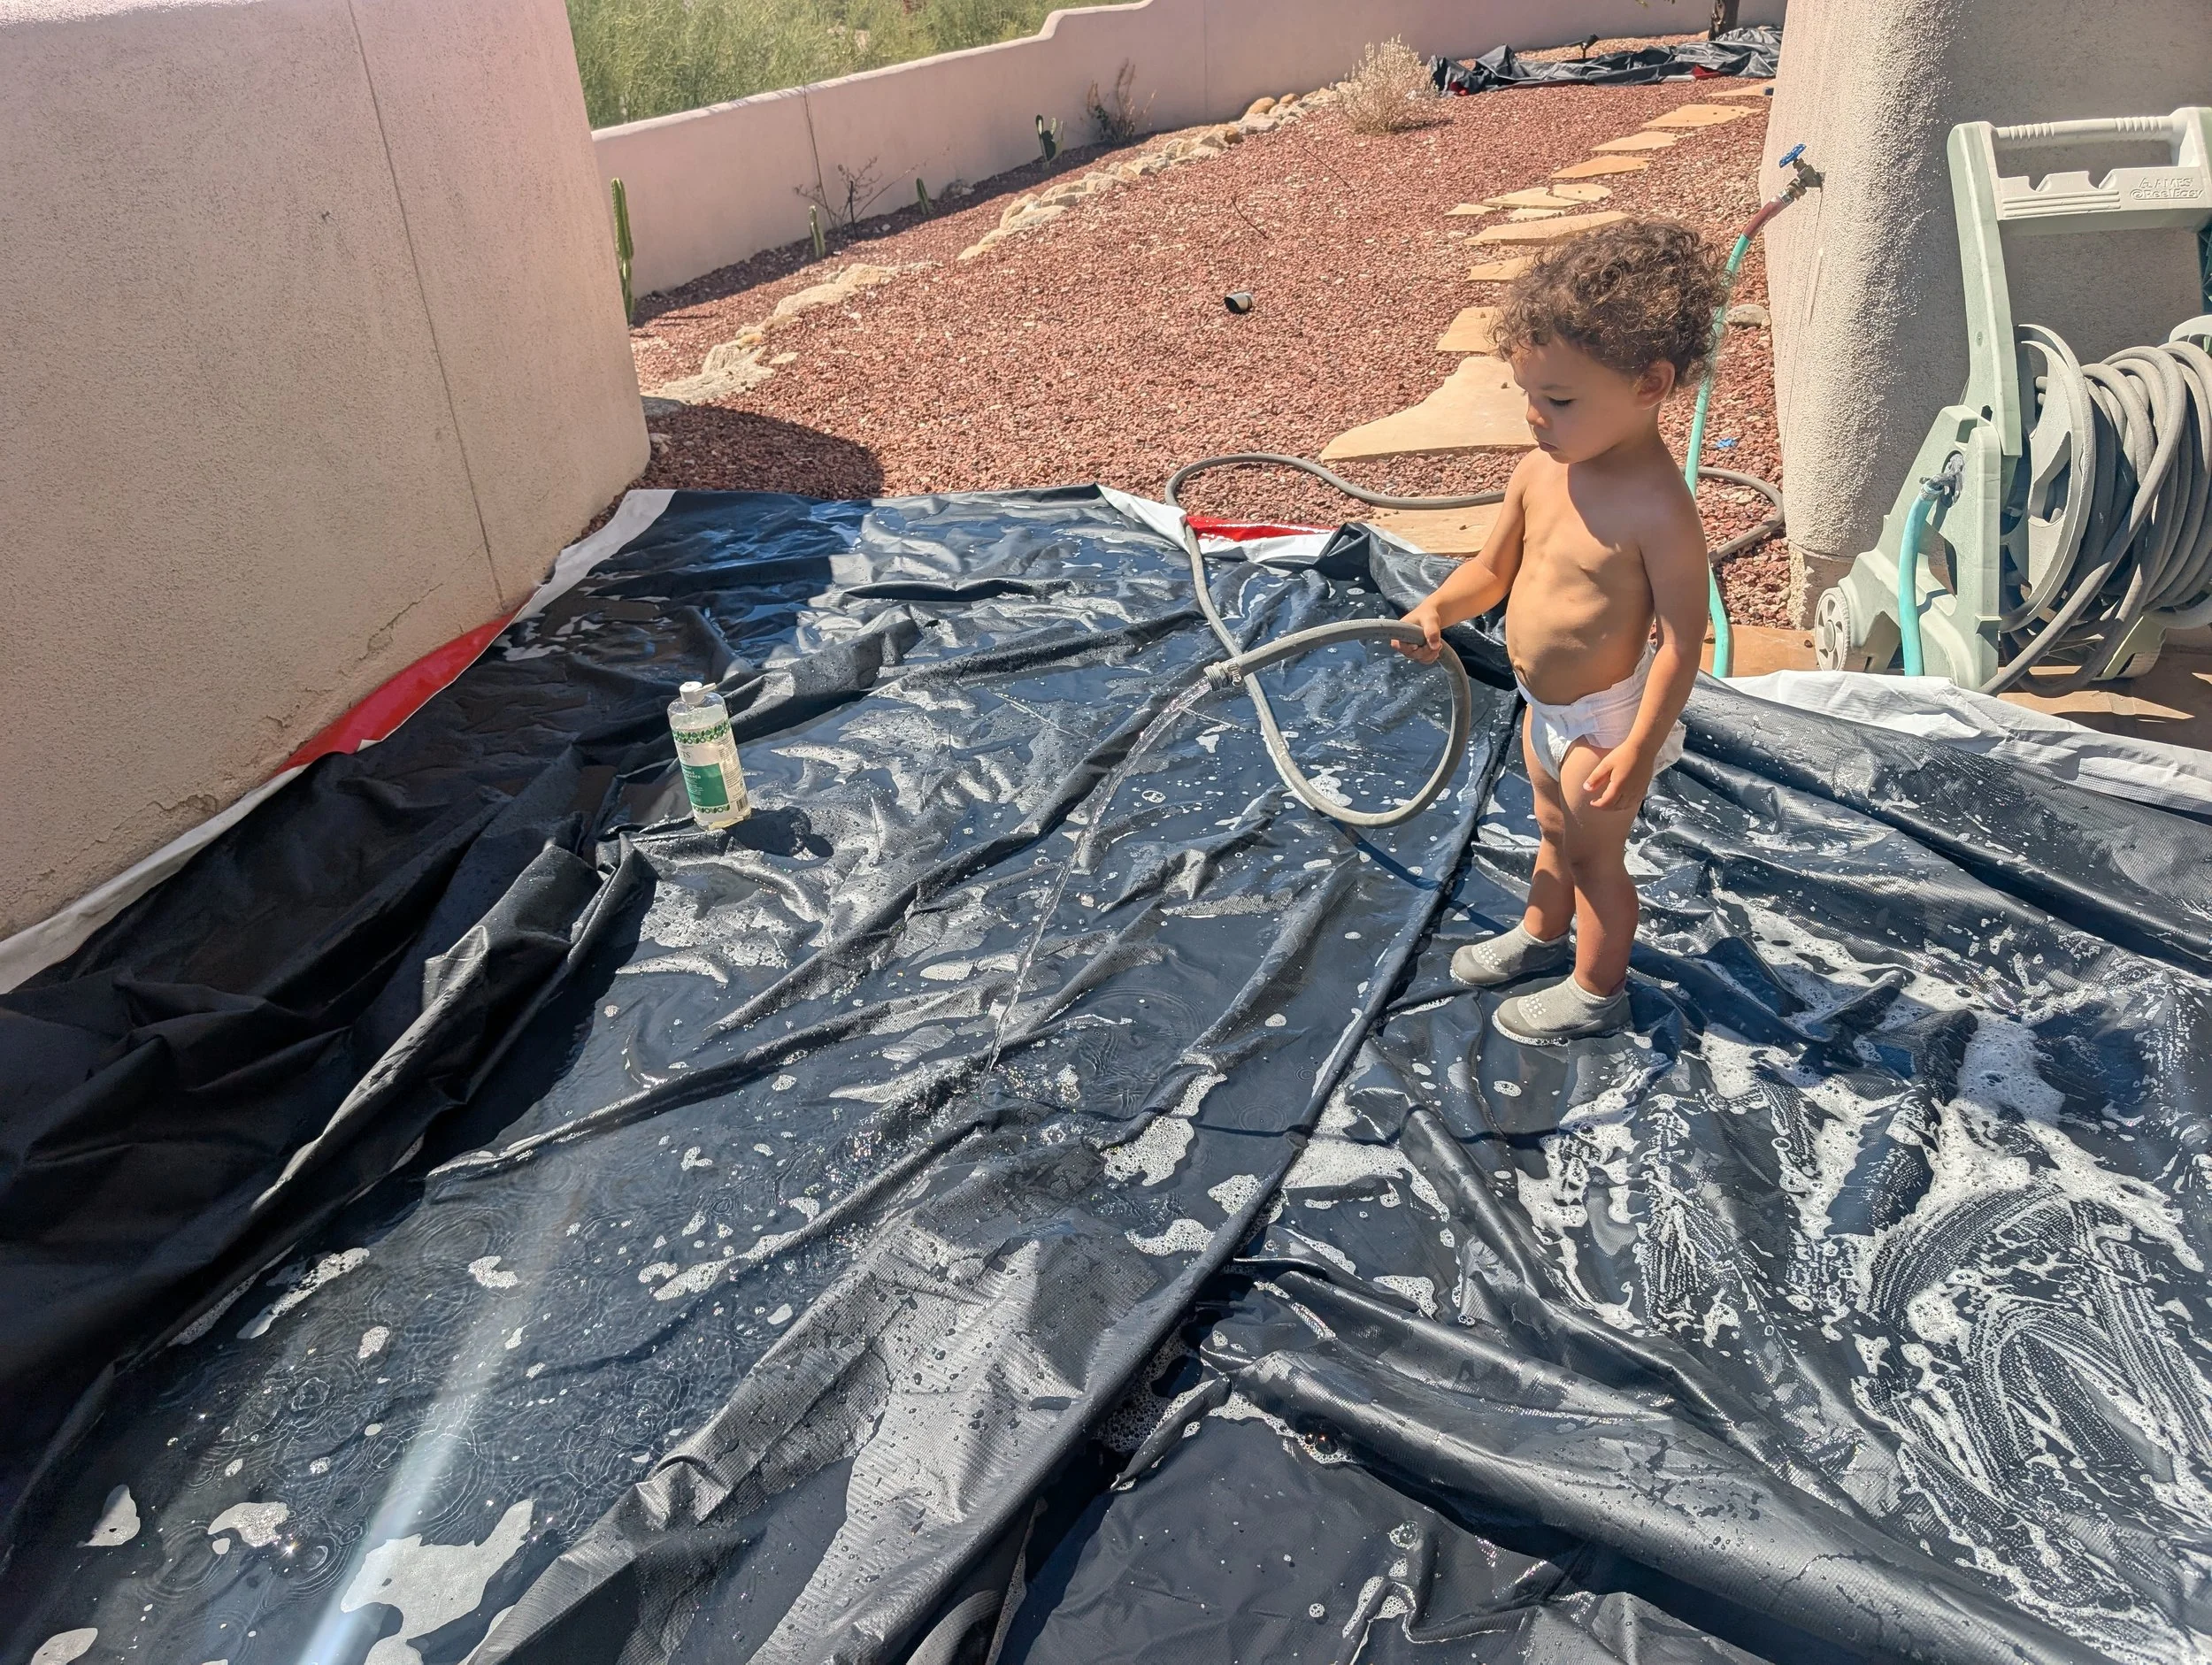
My lifestyle of multiple cats, a dog, and a toddler means that I needed a waterproof (and urine proof) cover. My landing area is 16 feet by 14 ft by 4 inches, so quite large for a home wall. Since I was trying to copy Organic crash pads, I looked at the material they used- 1200d Recycled Cordura and 1050d Ballistic Nylon. Unfortunately, that would cost me thousands and I’d need a special sewing machine in order to sew the very tough materials. I’d also have to learn how to add zippers. So I decided to try a vinyl material that is often used on boats. I went to fabric stores for quotes, since I would still need a special sewing machine and zippers. The quotes I received ranged from 2000 to 3000 dollars. Still too expensive. I started reading about landing pads for all sorts of different sports including jiu jitsu and gymnastics. I found a man in California who makes athletic pads for Hollywood movies out of a waterproof vinyl. His quote was 750 for a top layer, but I would have to figure out how to attach the vinyl to my foam. He seemed like a good bet, until I discovered BILLBOARDS! Billboards are tough, durable, and waterproof enough to survivor monsoons, so they may have a chance against my household. There is a company that sells used billboards and I was able to buy 50 feet for 110 dollars. The only downside to the billboard is that it arrived with bird poop on it. Hans Sven and I had to wash it off, which was also an endeavor because a billboard is quite heavy and unwieldy.


4. Choosing the right tools
Since I had to buy multiple sheets of foam because of the size of my landing pad, I had to figure out how to cut the foam and connect the foam together. I tried adhesive spray, but that didn’t work at all. I decided to go with the tried and true method of duct tape (technically gorilla tape)! I got the extra wide version to make sure I had plenty of wiggle room when applying the tape to the foam. The tape worked amazingly well on both the open and closed cell foam.
Now, I needed to cut the foam. Online I read that a jigsaw was best, but I didn’t know how to use a jigsaw. I also read that an electric carving knife would also do the trick. For some reason, I thought those were an antique tool that I’d have to buy a yard sale. Later, I found out that they are available in stores! I tried to tear the foam with my hands, but that made for really uneven and ugly lines. I tried scissors, but that was an incredibly slow method that also hurt my hands. Finally, I tried my survival knife that is half serrated and half smooth. I initiated the cuts with the serrated portion and use the smooth portion to move through the foam. It wasn’t pretty, but it got the job done quickly and painfree.
Finally, I was ready for the final stage- attaching the vinyl! Since the tape worked so well with the foam, I decided to try it on the vinyl. I taped the vinyl to the bottom side of foam and tried to make the vinyl as taunt as possible
5. Enjoy
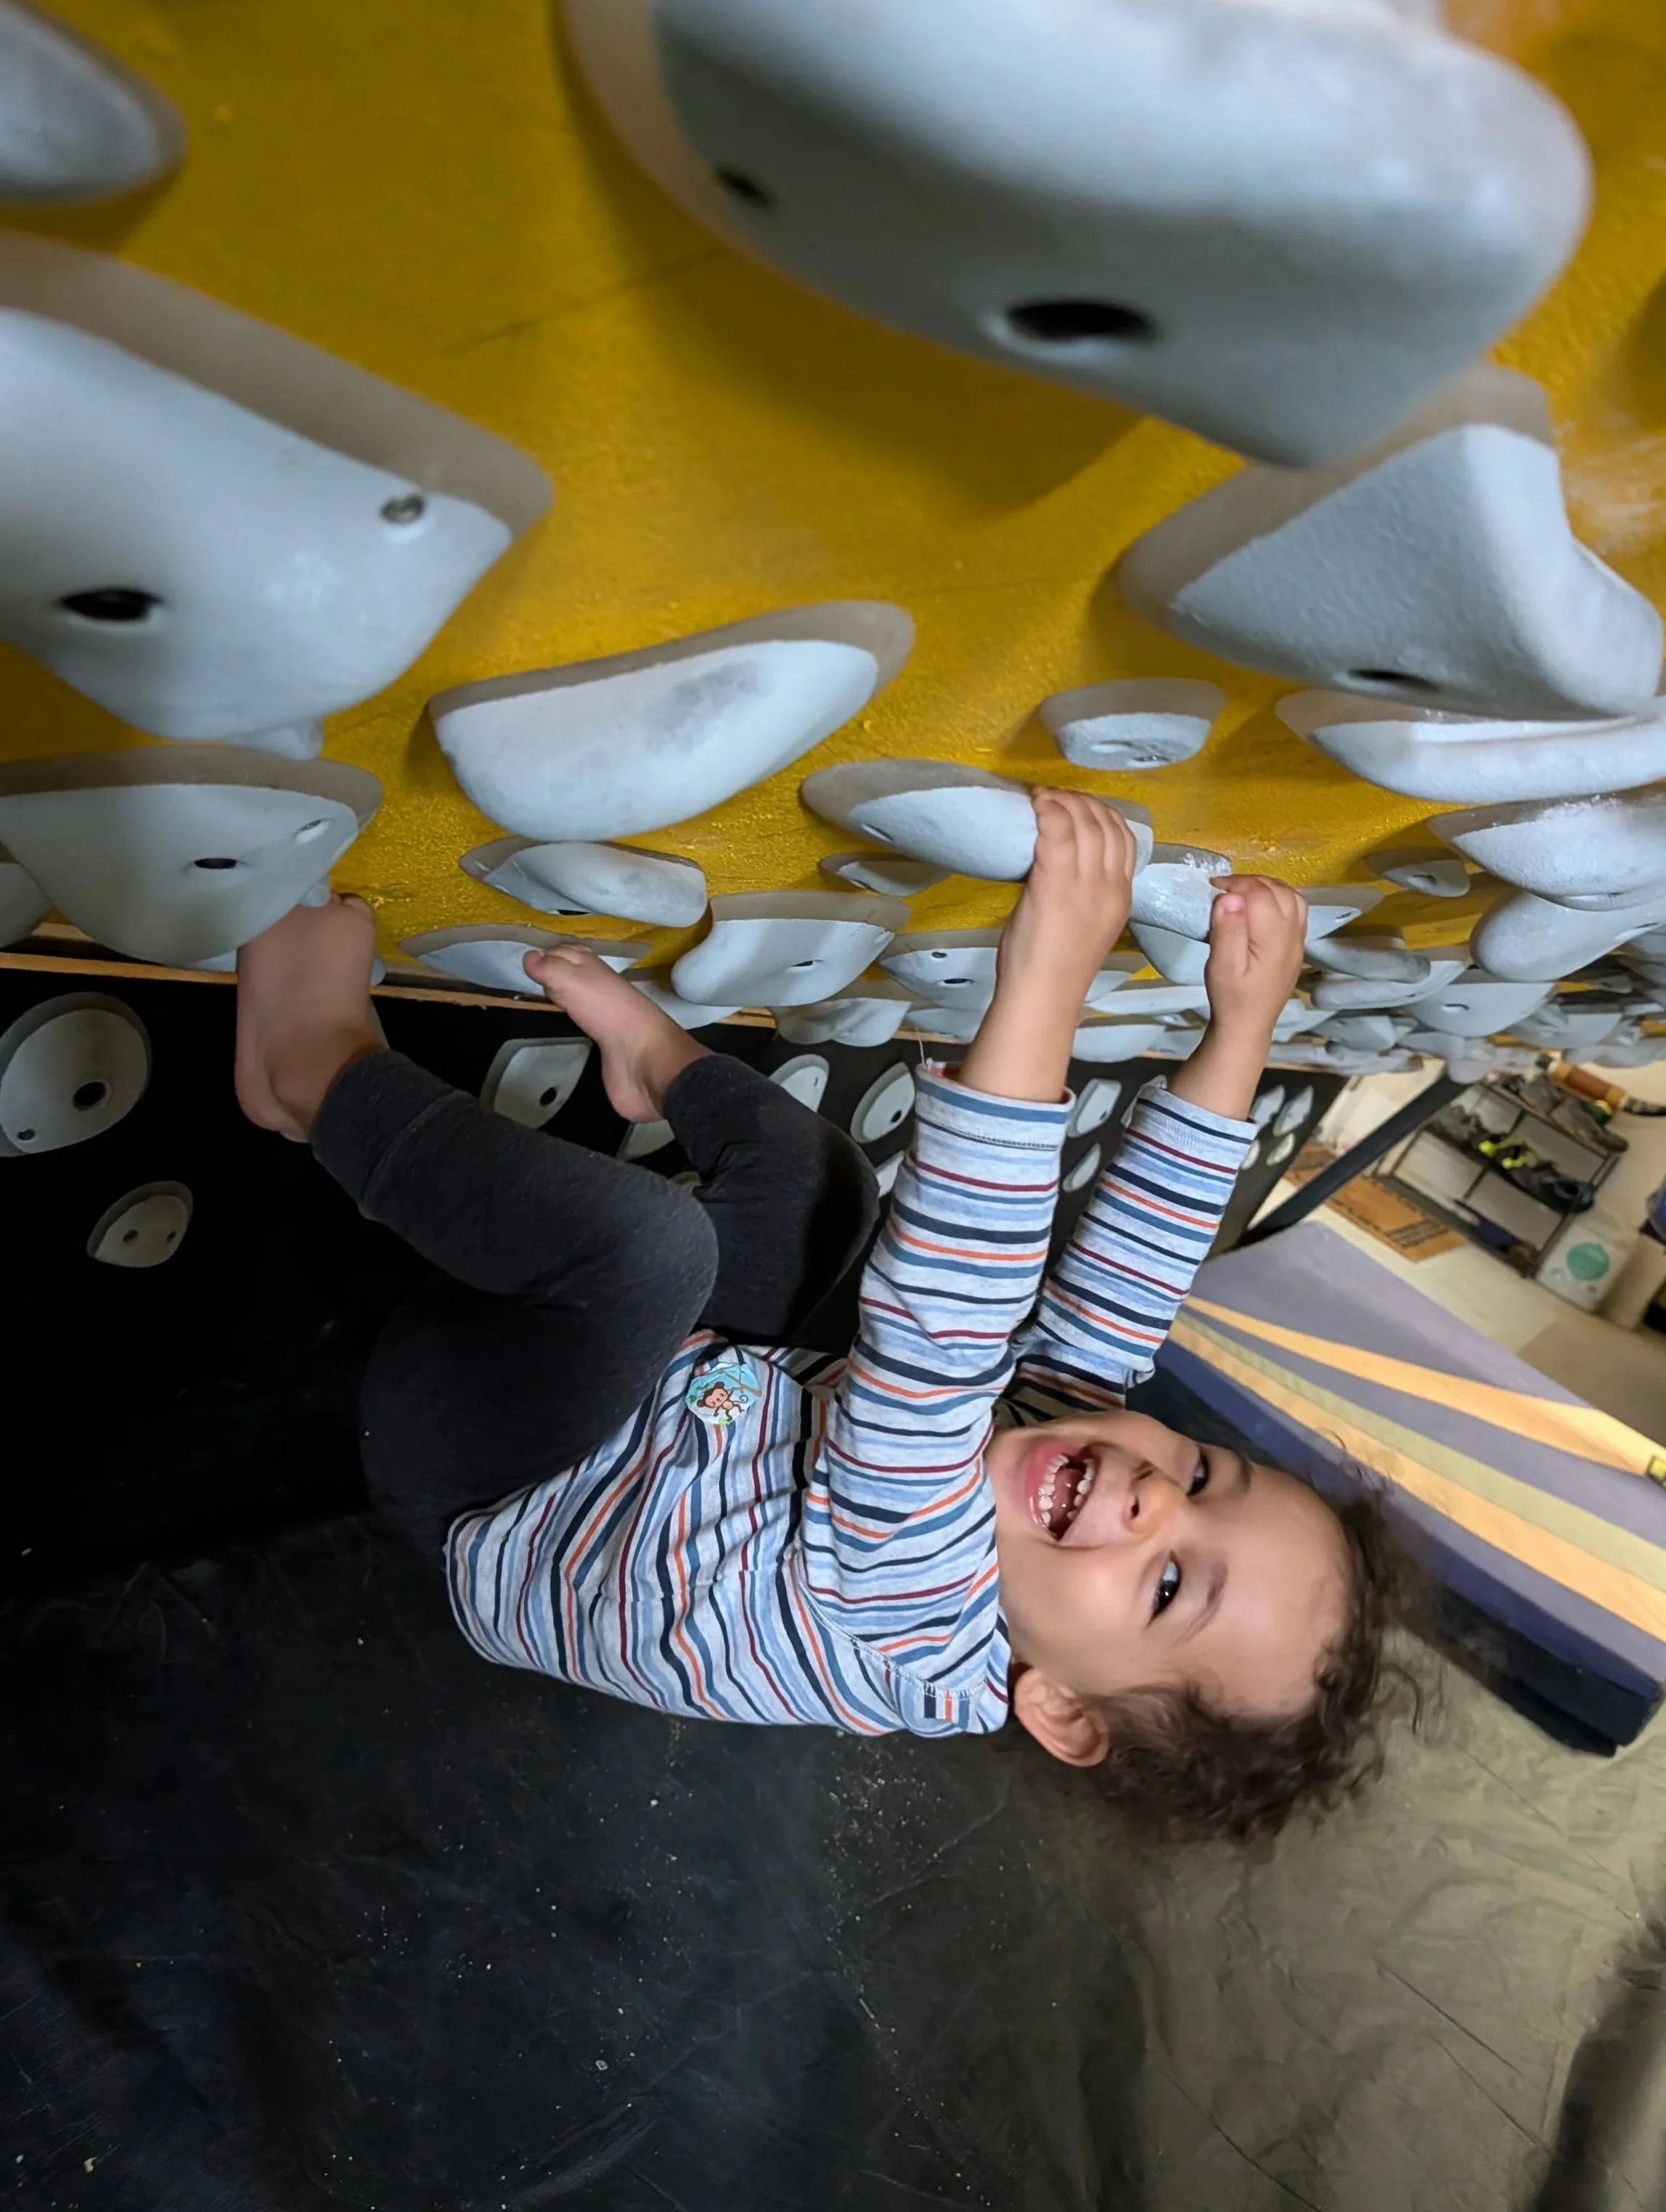
I’ve been using this setup for a few months and so far, everything has held up. The vinyl has repelled water and chalk. The tape has kept everything in the place. And most importantly, I’ve had no injuries falling!!


With over 200,000 problems on the kilter app, it can be overwhelming to pick a fun problem. So I made a list of climbs that I thought would be enjoyable for the new steep climber and put it to the test.