
Spinal Fusion Recovery Tips: Squats

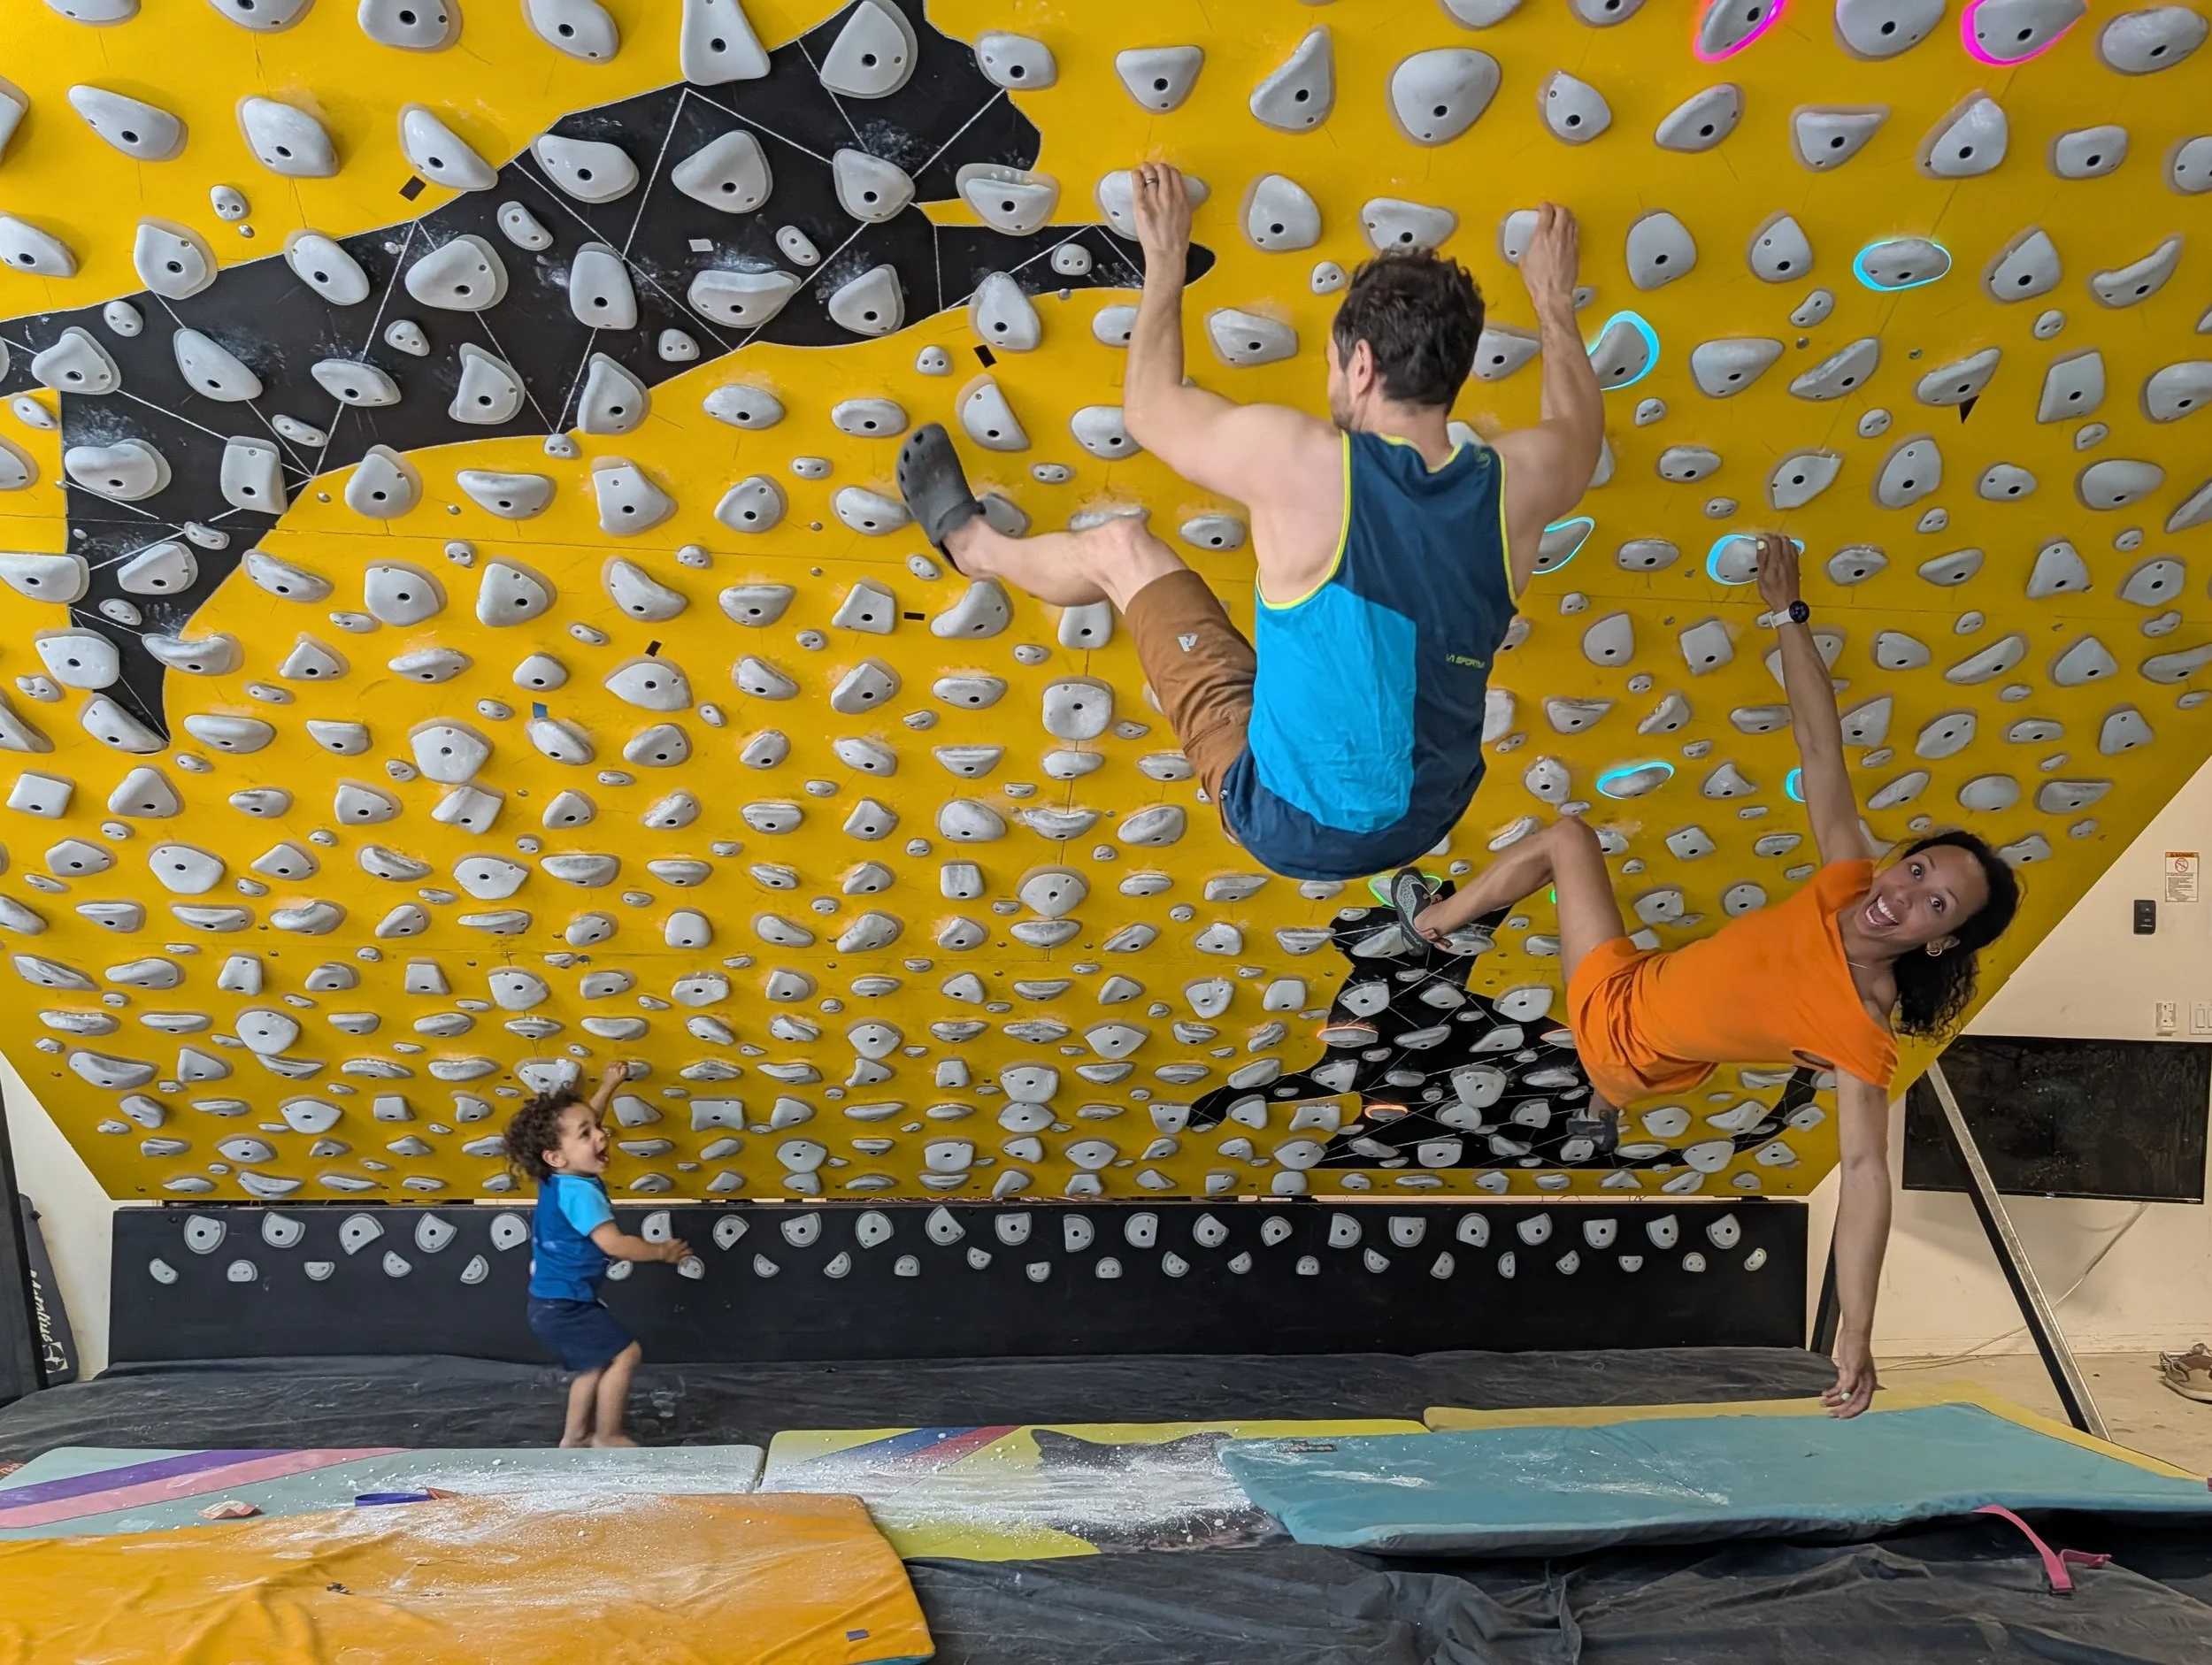
Now, I’m nearly four months post-op from lower back spinal fusion surgery. Sneezing stills hurt a ton, but I can walk and sit with minimal pain. I’ve started climbing again and taking small falls without injury. And of course, I’m still on that rehab train!! One of the best exercise progressions I’ve done so far are squats. I started with half squats with no weights and am now doing full-on barbell back squats.
Here are five variations of squats that have proven useful for my recovery. I did 3 sets of 10 reps for all of these. And remember, I may be a doctor, but I’m not your doctor. Please consult your surgeon before doing these exercises.
Chair Taps
Stand next to a chair or a bench with your feet shoulder-width apart. Bend at the hip and squat until your butt lightly taps the chair. The taller the chair, the easier the squat. Make sure your knees stay pointed straight. My knees tend to bend towards each other, so I have to be extra cognizant of that. Start these without weight and once that becomes easy, add a dumbbell.
Dumbbell Squats
These are similar to the chair taps, but they allow you to go into a deeper squat. Stand with your feet shoulder-width apart, squat as far as you feel comfortable and stand back up. The end goal is to get your quads parallel with the ground. Again, make sure your knees are pointed straight. I typically hold one dumbbell close to my chest. When my arms became the weak link (they couldn’t hold enough weight), I knew it was time to progress to the barbell squats.
Barbell Squats
If you have had recent spinal surgey, absolutely get clearance from your surgeon before starting these. The barbell puts compressive weight on your spine and doing this too soon can cause damage to your healing bone. I had to wait almost three months before I was cleared to do these. Set the bar to an appropriate height, where the bar easily sits on your shoulders. I highly recommend adding no extra weight for the first few sessions as your back grows accustomed to this new stress. With your legs shoulder-width apart and knees pointing straight, lift the bar off the rack and take a step back. Now, bend and squat as far as you feel comfortable and stand back up. The goal is to get your quads parallel to the ground.
Suitcase squats
These are great because they can be done while doing every day exercises such as carrying groceries or—in my case—cat litter. Place two weights or items on the ground body-width apart. Stand between the two items and without bending over too much, squat and pick them up. Walk 30-40 feet and place the items on the ground. Turn around and pick the items up again and walk back to the starting position. This counts as one rep.
One leg suitcase squats
These are the same as the suitcase squats but you only lift one “suitcase”. This really translates to real-life situations because how often do we have two similar, heavy items that we have to carry? These exercises help build trunk stability and I actually found these to be more challenging than the regular suitcase squats.
The road to recovery is tough, so hang in there. I hope these exercises help!
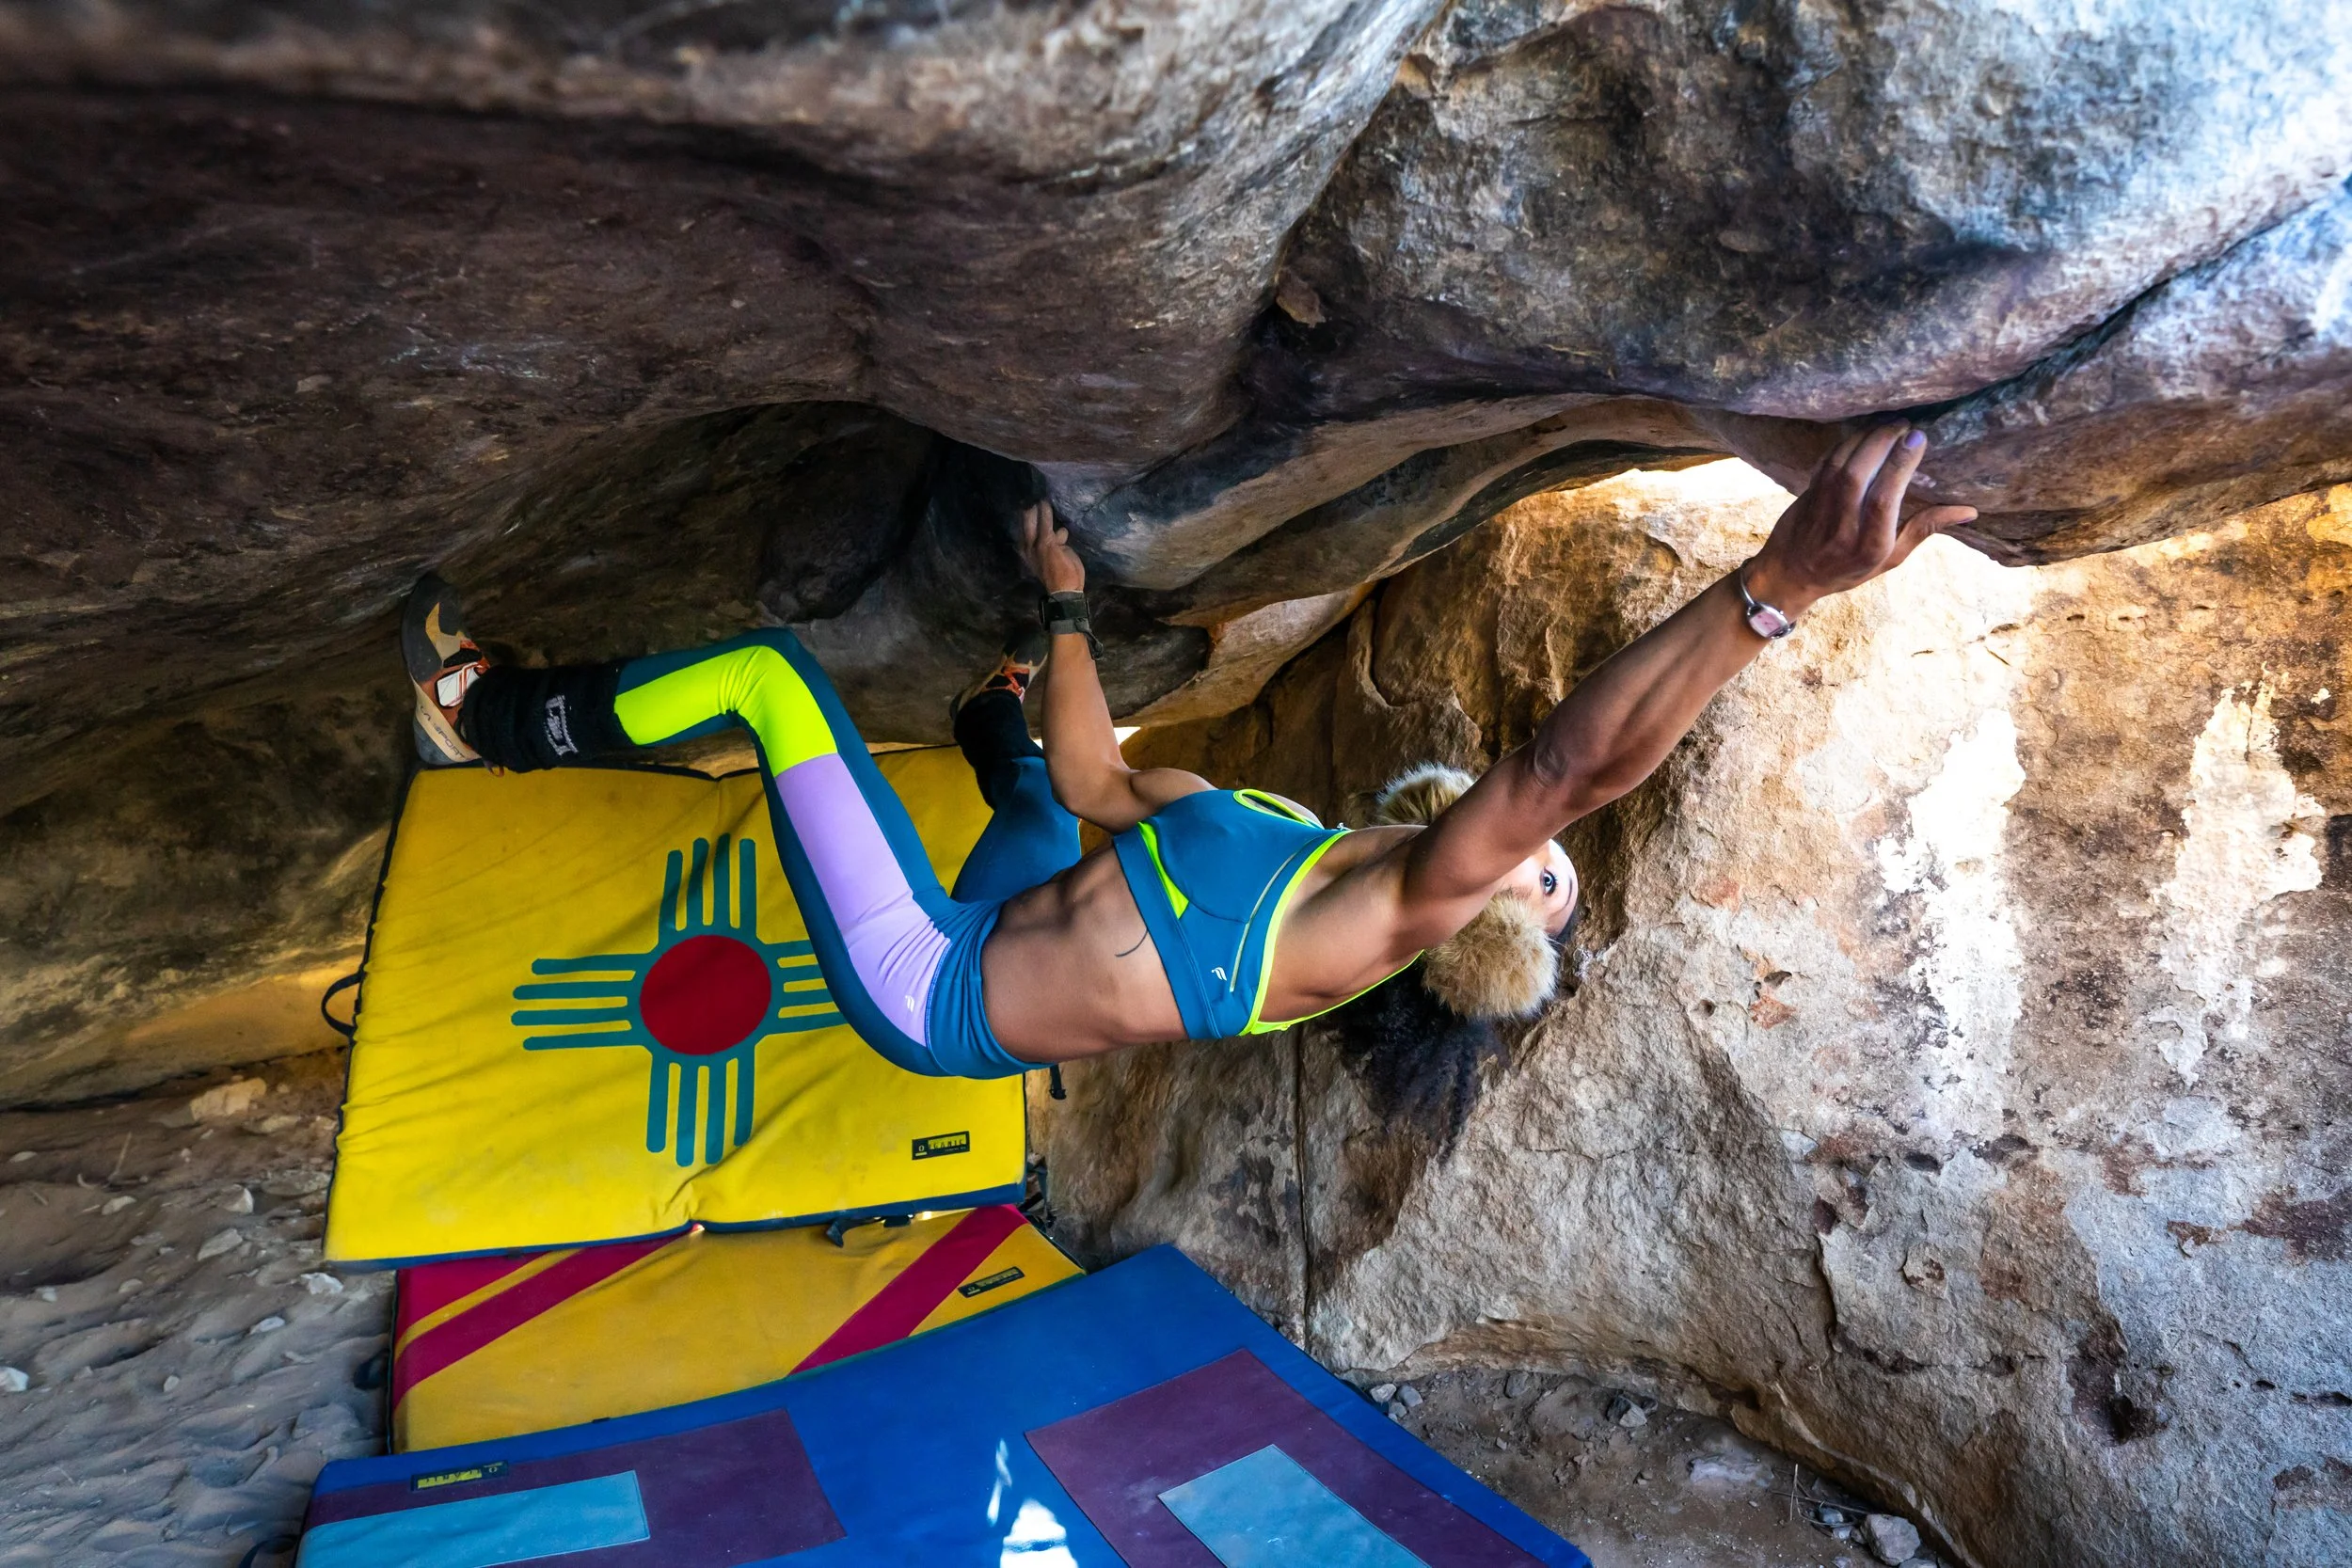


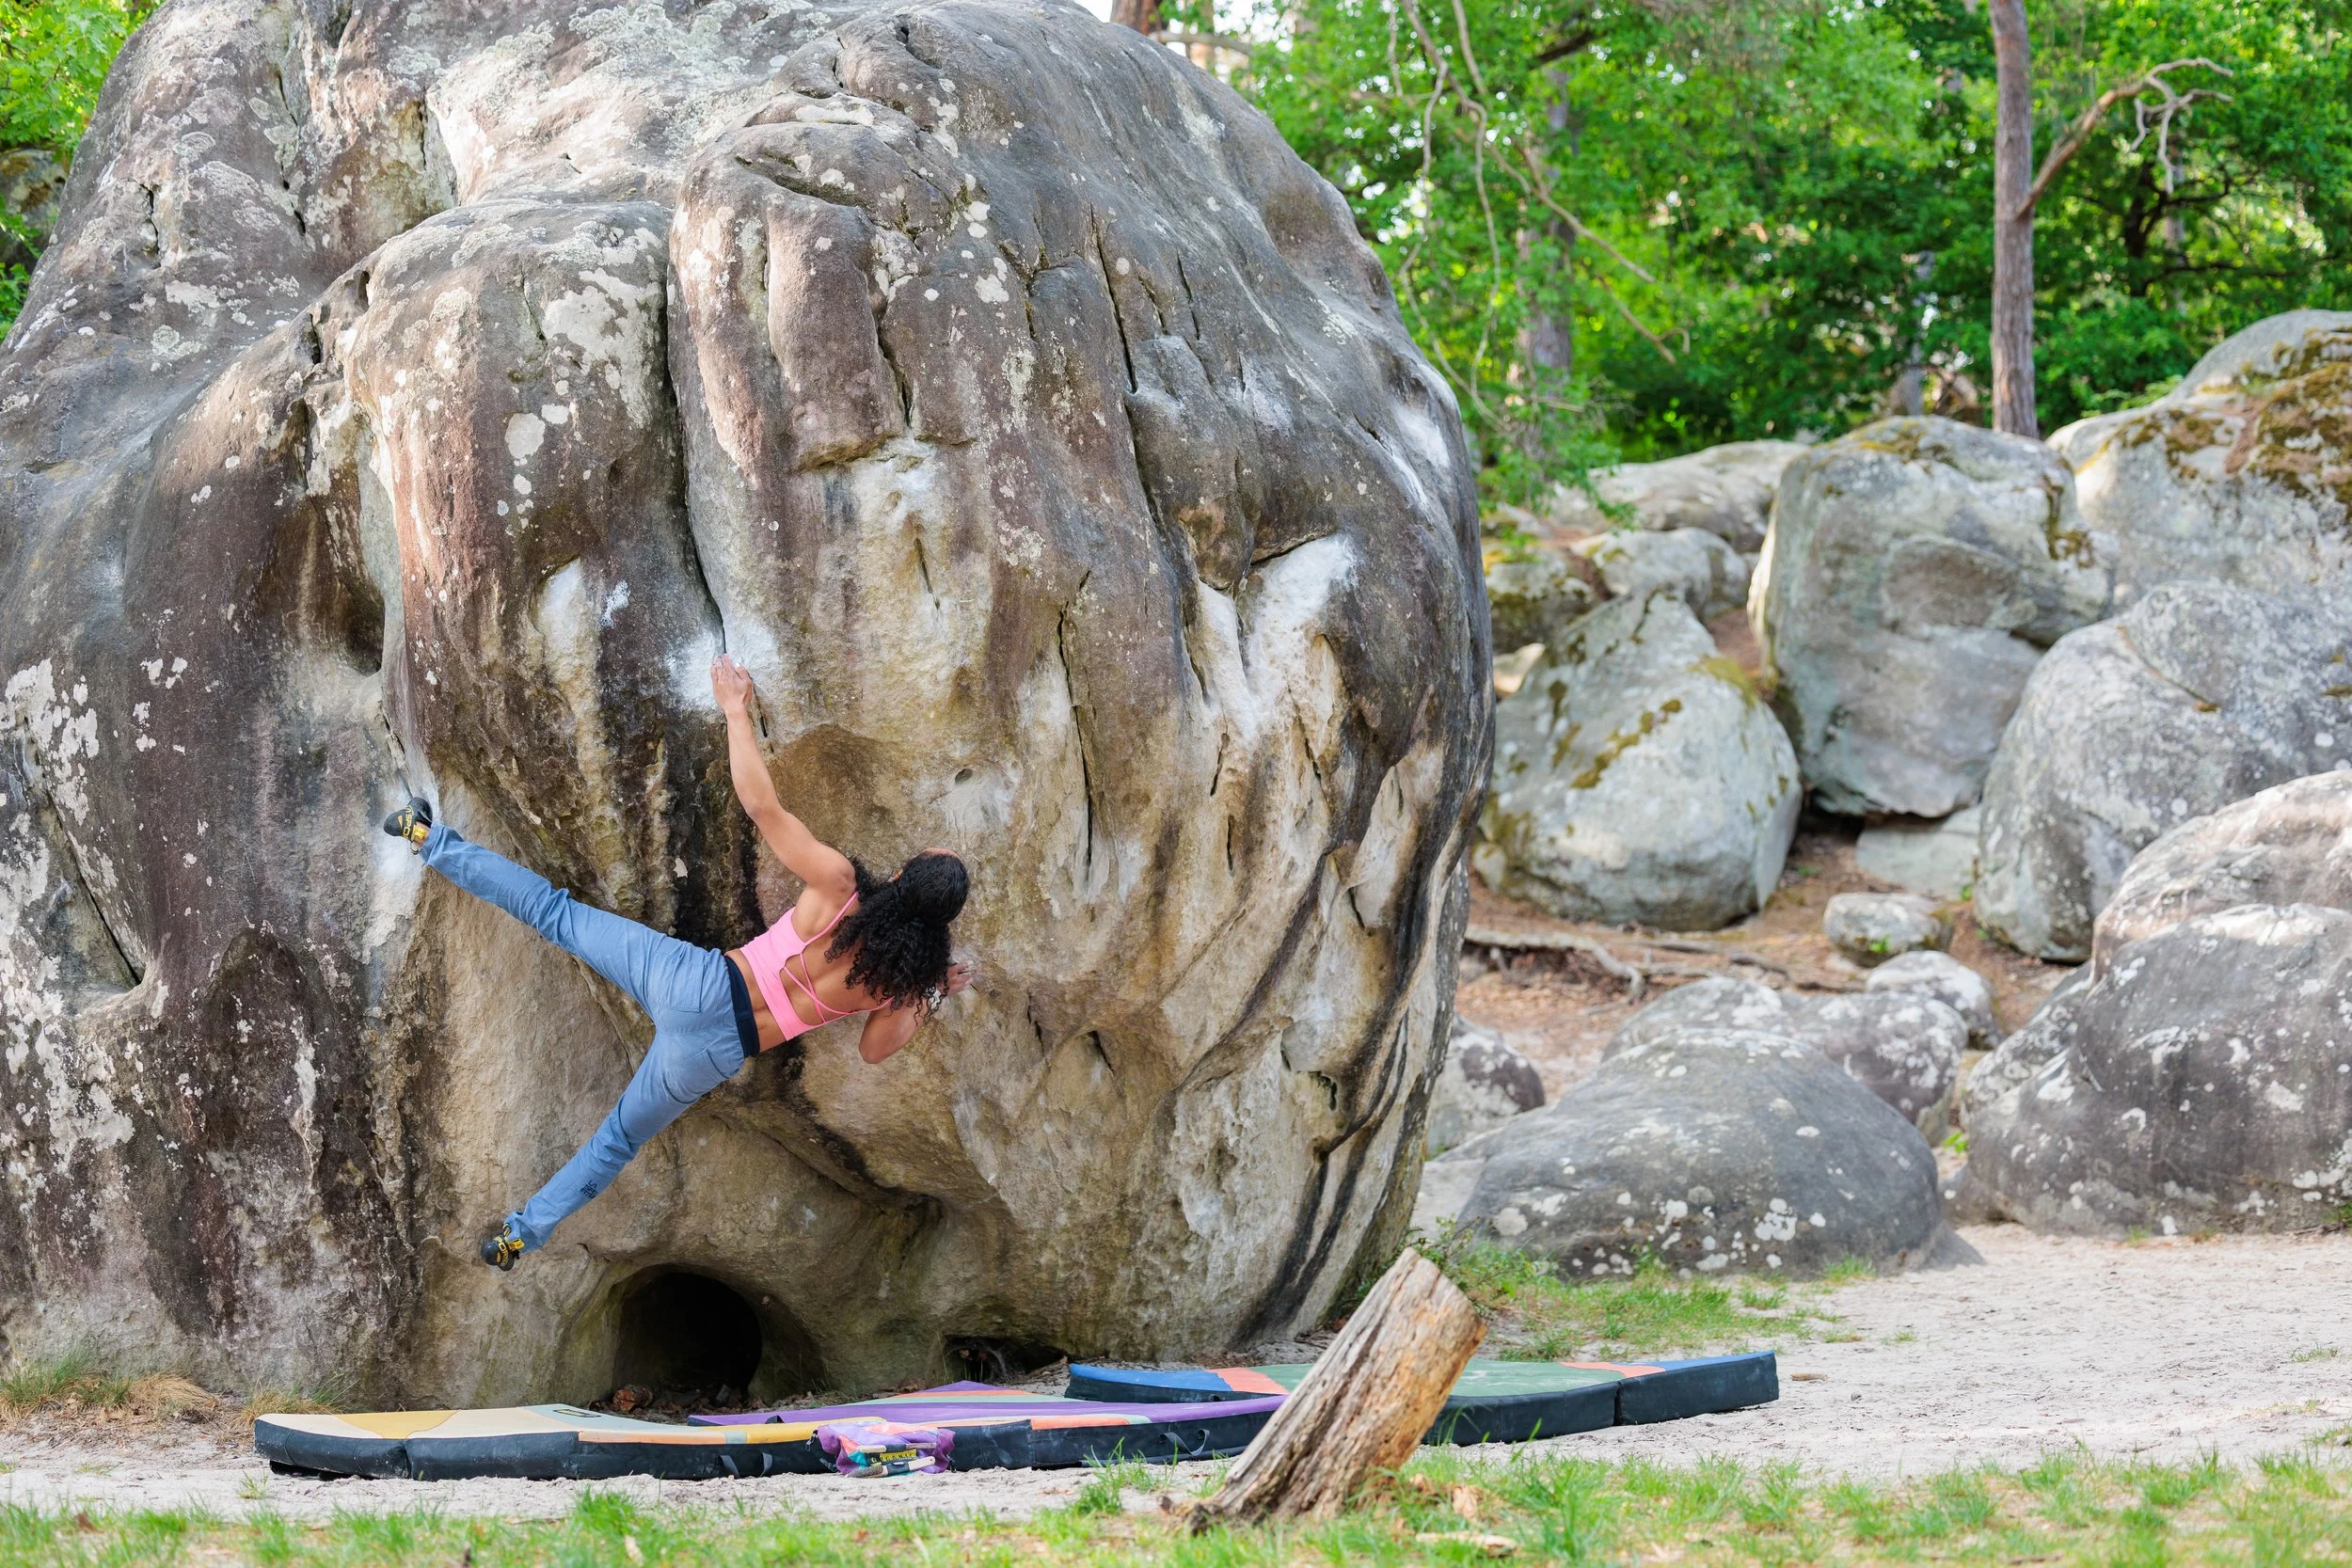


As a self-proclaimed low-ball roof boulderer, this post may come as a surprise. I LOVE SLAB. If you are building a home wall, I recommend building a slab wall. I wasn’t always pro-home slab wall. I was actually very upset when my coach told me, I needed a slab wall. But so far, my coach hasn’t been wrong in his recommendations. So this roof climber embarked on her slab climbing journey.