5 Tips for People Who Did Not Grow Up Hiking

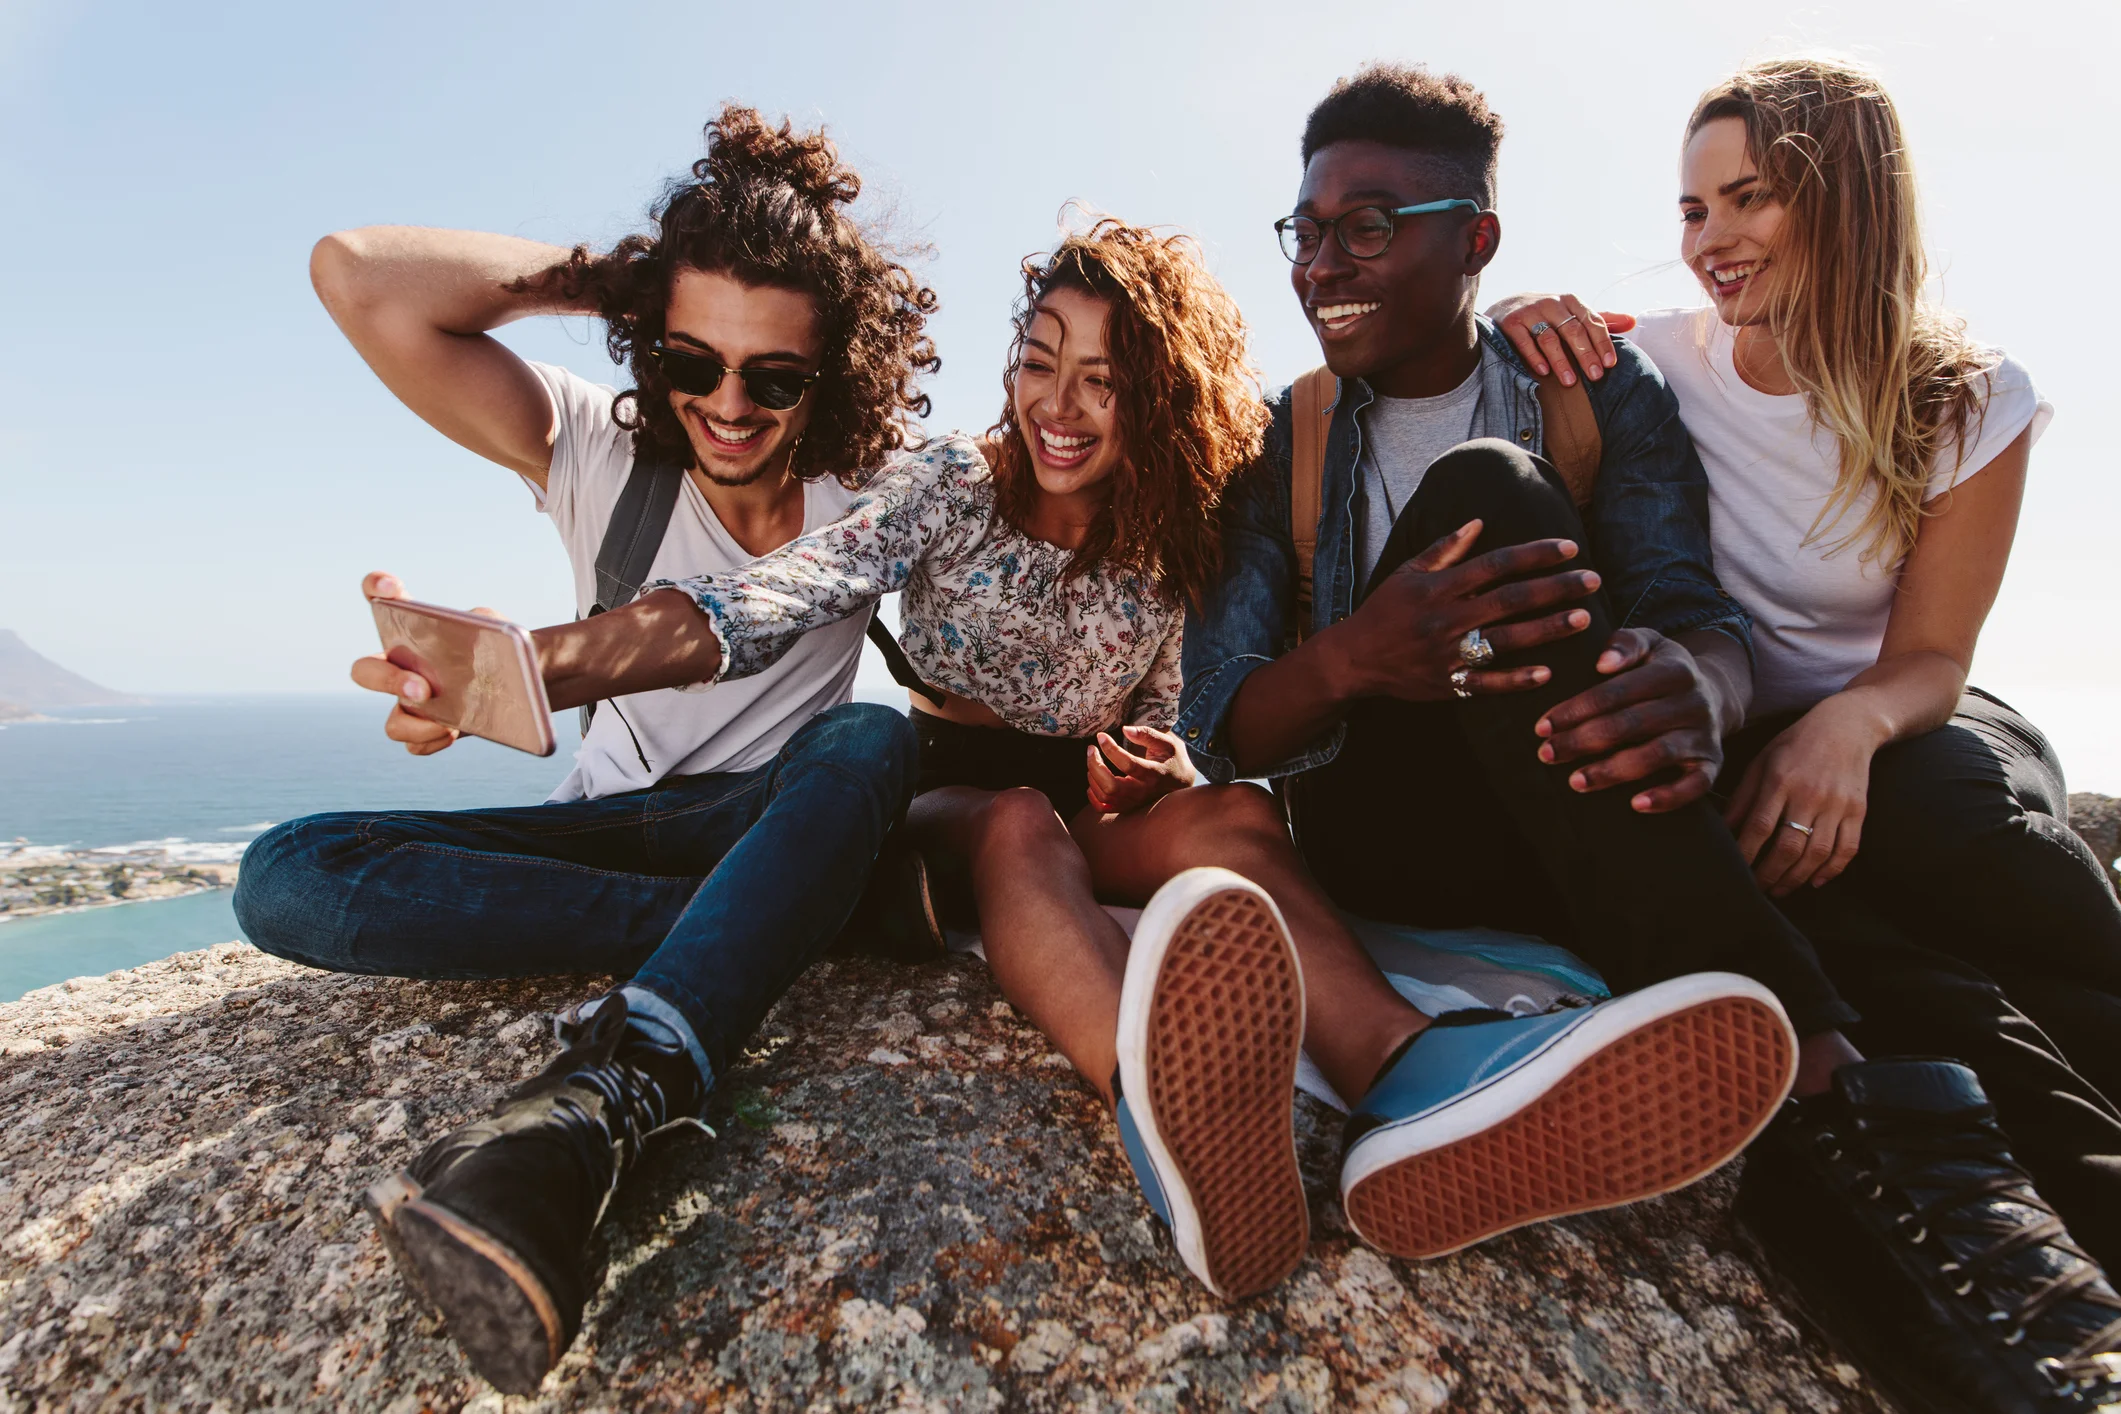
What's in a name? That which we call a hike, by any other name would be the same damn thing (Photo credit: Getty Images)
Can we skip to the good part: Five Tips for People Who Did Not Grow Up Hiking
I went on a lot of walks as a young kid. We walked to school each morning; to the 7-Eleven for candy; and to the library to return books. Walking wasn’t an adventure and no one blogged about it (this was the dial up era and Live Journal and MySpace were still years away). It was just something we did. Our destinations weren’t epic, they were ordinary and our gear was limited to sneakers and flip-flops.
Once a year, there were class trips to a nearby 1,500-acre wetland and wildlife habitat. Those nature walks were exciting mostly due to the dragonflies darting about the boardwalk and the chance to spot turtles hidden in the marsh below. Or we’d bus out to a nearby plantation to walk the grounds, peek into the slave quarters, and learn about what life was like for the hundreds of enslaved people who had lived there.
Every other walk was either boring or a lot faster if you ran—something we did frequently. During the summer, my twin brother and I would tuck our flip-flops into our gym bags and run barefoot on hot pavement the two blocks to the local pool, racing each other to see who was fastest.
It wasn’t until I got older that I heard the word hike for the first time—I mean a lot older. I walked right past the Outing Club table during orientation my freshman year of college. Zero synapses fired. I had no idea that it was a hiking club and I still didn’t really know what hiking meant.
After college, I joined the U.S. Army. We walked everywhere with 35-50 lb packs even though hiking wasn’t a part of our vocabulary. And no one I knew did it for fun. Still, the mandatory time in Nature was good for me. I got a lot more comfortable with being outside in the woods and I learned a little about a lot of topics ranging from taking care of my feet to filtering water with pantyhose or charcoal.
I learned about conservation for the first time from prescribed burns—an Indigenous practice that is pretty standard on military bases and by completing mandatory classes on threatened and endangered species and plants. I started to actually enjoy sleeping under the stars. The best part of each work camping trip was lying awake in the pre-dawn woods thinking about life and also how badly I needed to pee. It’s not that I stopped worrying about spiders, snakes and wild boars overnight. It’s more like I gradually began to feel comfortable.
Even though I put in a lot of time in the outdoors, it still wasn’t a place where I would voluntarily spend time on the weekends. Then in my late 20s, I started hanging out with people who enjoyed hiking in nearby state and national parks (when they weren’t jumping out of airplanes—long story). Finally, my brain was paying attention! It got me online, where I found websites that offered first-hand information about local hikes, along with their difficulty level and checklists that covered what to bring.
So I became a solo hiker. I traded my well-worn running sneakers for hiking boots which happened to be part of my uniform and already in my closet. And it was kind of fun.
The hard part, at first, was going alone. I was so used to doing everything with other people in the Army, but I eventually got used to it. I put together a little hiking bag that borrowed from some of the government issued items I had lying around like a whistle, headlamp, VS-17 signaling panel, chem lights, gauze, QuikClot, bandages, iodine tablets and a tourniquet (you don’t need all this stuff). I added my well-worn CamelBak, an extra 2-qt of water, a few snacks and I was ready to go.
Eventually, I wanted to blend in more, so I bought my first pair of hiking shoes—in my late 20s. They were too big for my feet, but I wore them anyway until the soles were smooth and frictionless.
Fast forward to today: I am a confident solo hiker. I know my abilities and enjoy finding hikes that are safe, fun and challenging (for me). These days, I’m also a disabled hiker and while that impacts how I make decisions about where to go and what to bring, the basics apply to everyone.
So here are a few hiking basics that you should know:
Five Tips for People Who Did Not Grow Up Hiking

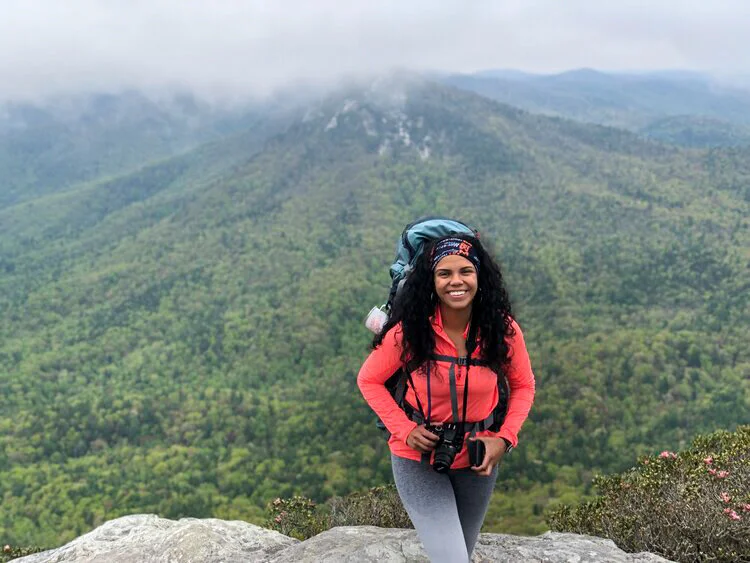
Enjoying 360-degree views in Shenandoah National Park. (Photo credit: author).
1. If the shoe fits…
You don’t have to go out and drop $150 on hiking shoes. When choosing footwear you should think about your budget and your destination. What type of surfaces will you be hiking on? Many local parks have flat, accessible trails that don’t require any type of special footwear. Wear sandals, or sneakers, or whatever works for you. Even trails with moderate inclines don’t necessarily require special shoes.
Why do people buy hiking boots? The textured treads are great for steep downhills and maintaining balance on rocky or slippery surfaces, etc. Yes, around the world, many people navigate similar trails in sandals or barefoot—true, but for those of us who didn’t grow up doing that, it’s nice to have the extra grip! So it’s up to you. If you are wearing sneakers or non-athletic shoes, just be careful on slippery surfaces. And please stay away from cliffs, ledges, waterfalls, streams, etc. It’s just common sense!
Disability can also factor into what type of shoes you purchase. These days, I stick with lightweight trail runners because traditional hiking boots are too heavy and bulky for me. Think of it as low tops vs high tops. Low tops or trail runners usually don’t need to be broken in, which is a plus, and they still offer great stability, and traction. They’re also cheaper.
High tops or traditional hiking boots have better ankle support. They’re often stiff and incredibly durable, with rubber toe caps, water resistant mid soles and leather or suede uppers. But they’re also a lot heavier, between 1.5 and 2.5 lbs. Both types offer great traction so it’s really up to you. If you are an AFO user I’d love to know which type of hiking shoe you prefer: sneakers, trail runners or traditional hiking boots. Let me know in the comments!
2. Dress for success

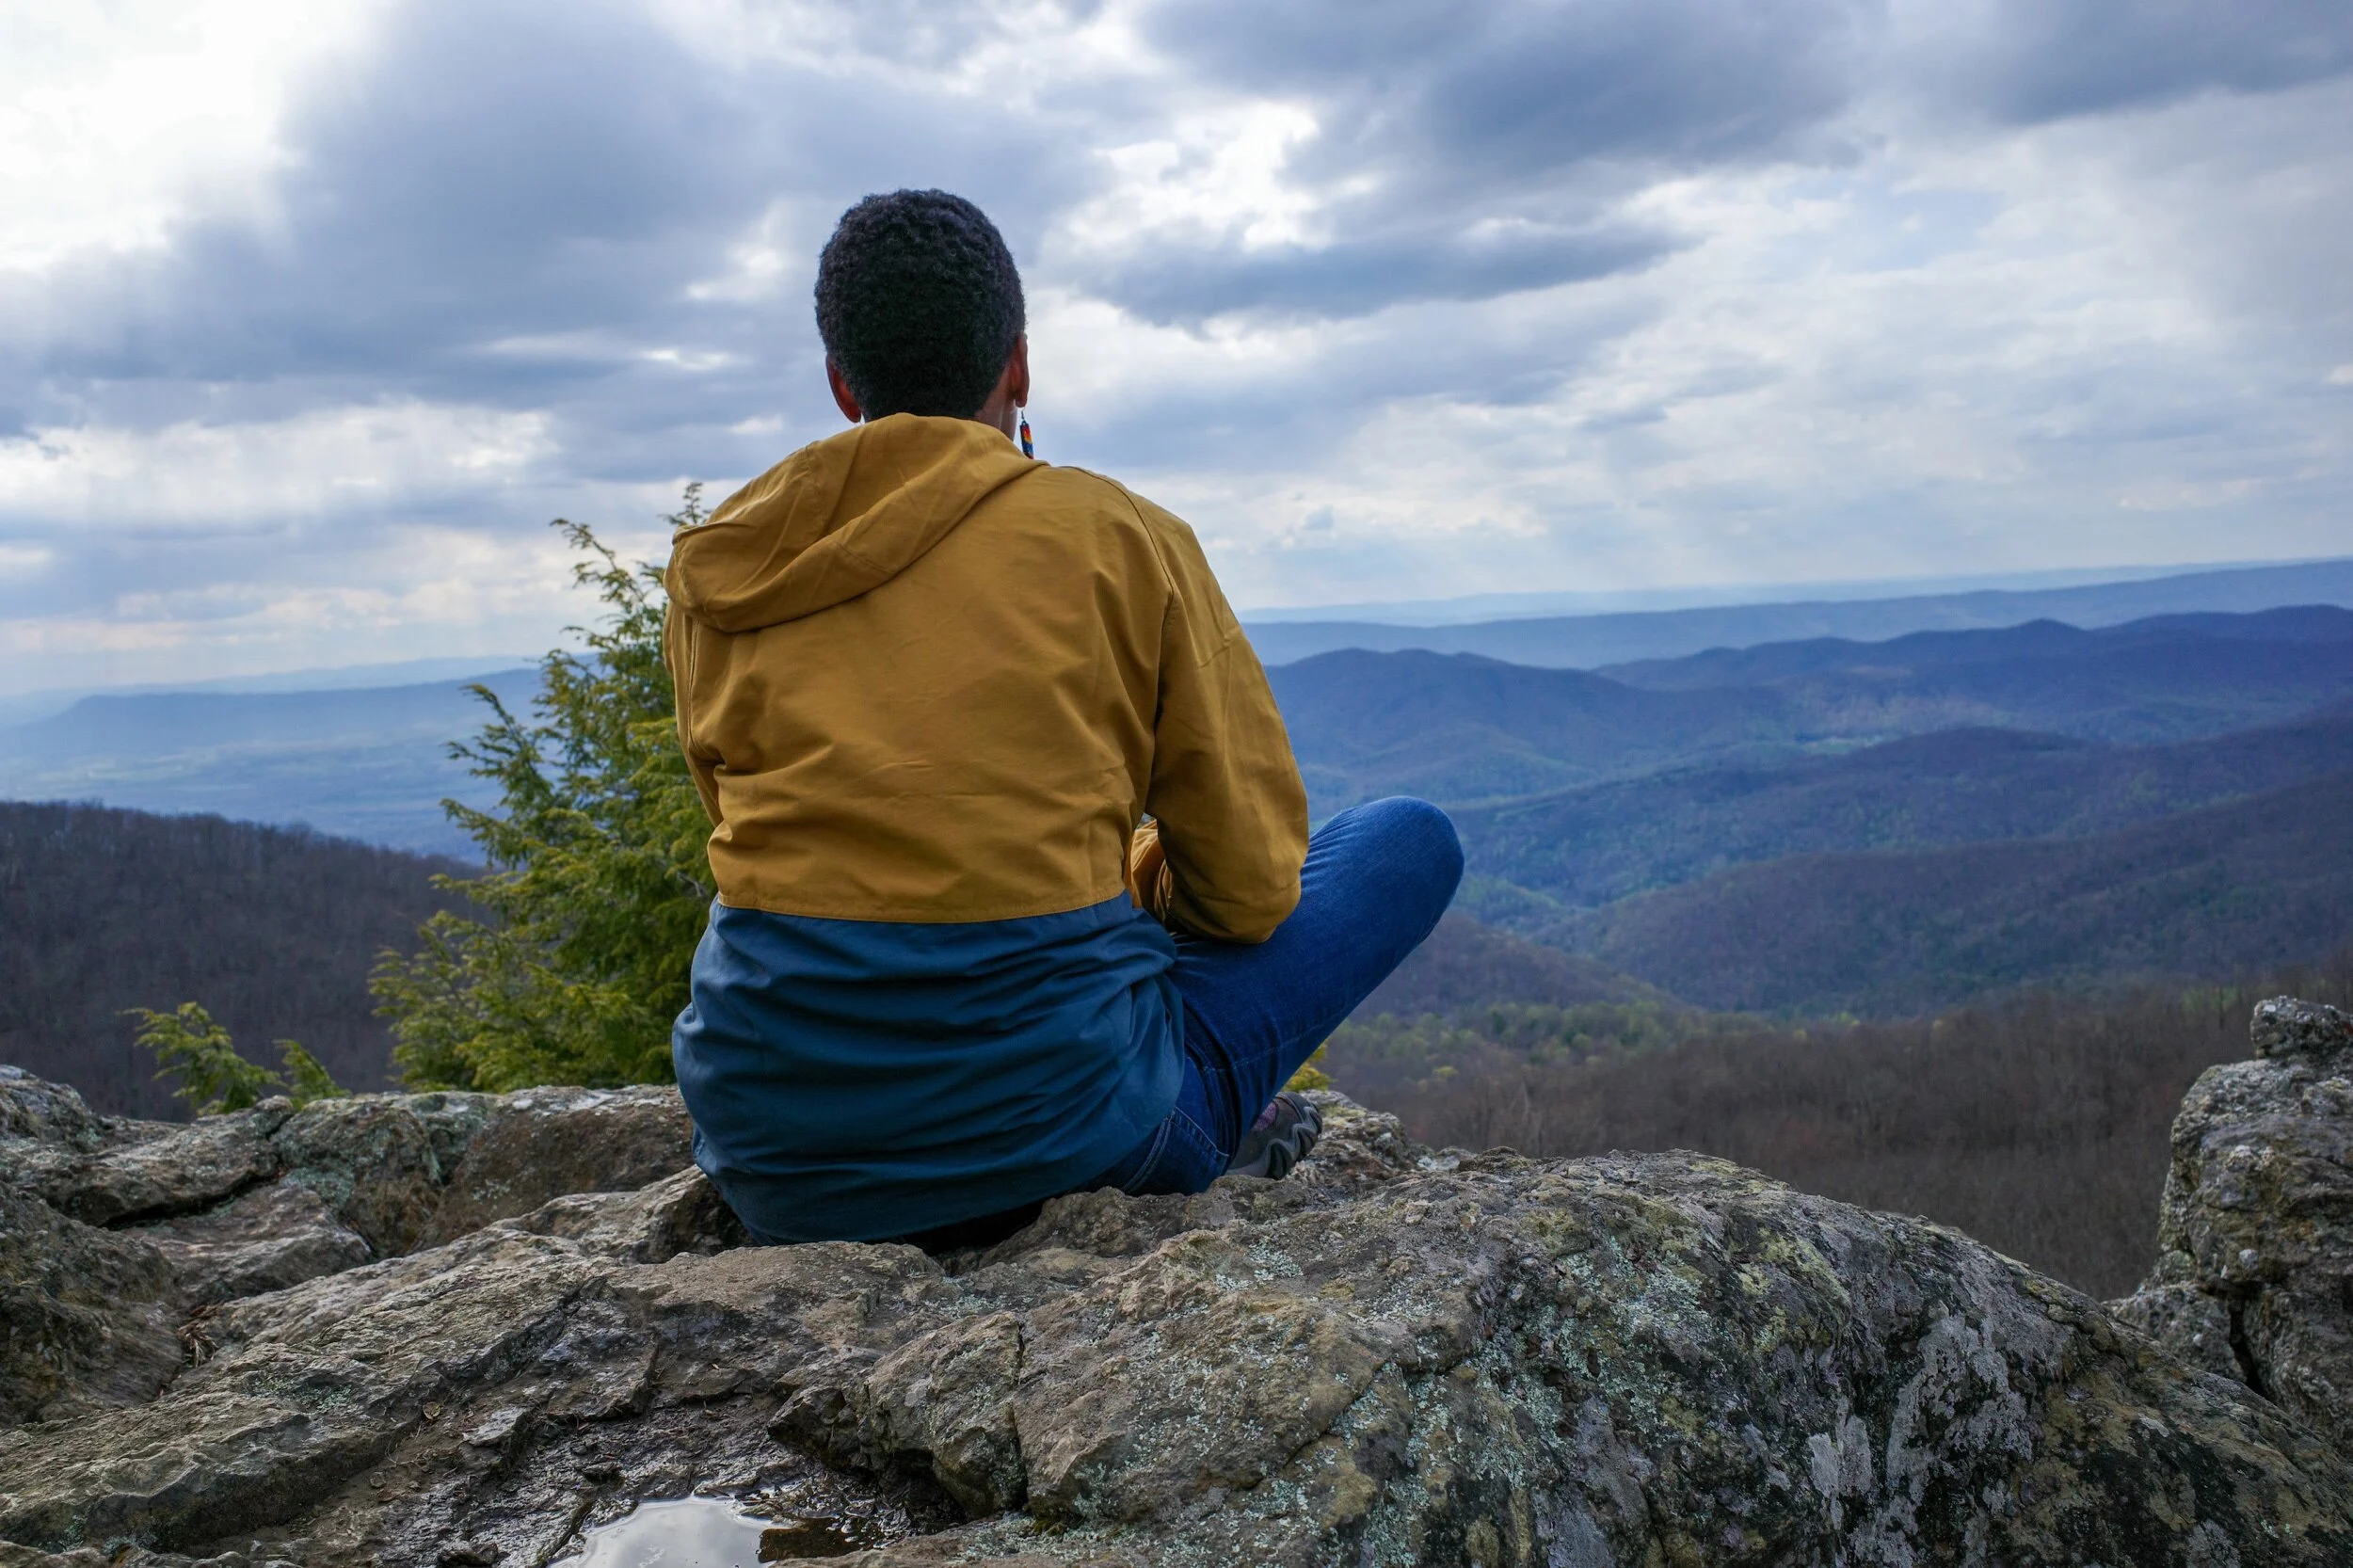
Enjoying the weather atop Bearfence Mountain (Photo credit: author).
Whether I hike in warm weather or cold weather I tend to wear layers and long sleeves. In the summer, synthetic fabrics, like polyester, help keep me cool. They wick moisture (sweat) away from skin and they tend to dry fast. In the winter, synthetic or wool base-layers have the same effect. They help keep my skin dry. Synthetic tends to be more affordable while wool base-layers are super expensive! This was definitely a learning curve for me–and an affordability curve.
I used to do a lot of year-round distance running. When I was younger, I ran in all second-hand cotton layers. I didn’t know any better and couldn’t afford anything more expensive anyways. I was super broke and relied on care packages from home filled with thrifted cotton layers. I wore them for years while running in all kinds of wintry weather in Boston, Missouri and Kentucky. By the time I made it back home each morning, my layered clothing was sweat-drenched and partially frozen and the warm shower that followed felt like needles piercing my skin. I don’t recommend this! Here’s how you can learn from my mistake:
Stay away from cotton if you can, and buy synthetic fabrics for hiking. Make sure to bring an extra layer or two in your bag–especially if you’re going on a longer hike or if you anticipate a slower pace (e.g. - traveling with little ones, elders, or mobility aids). If you’re staying close to home or walking around the block, wear whatever you want. But, come summer, synthetic fabrics also work great for staying cool at carne asadas, family get-togethers at the park, and all kinds of outdoor events.
3. Snacks

Snacks don’t have to be trail mix and beef jerky. (Photo credit: Getty Images).
Are you planning a hike at your local park? Bring water and snacks. Are you planning a hike at a nearby state park? Bring water and snacks. Are you planning a hike at a popular national park a few hours away from your home? Bring water and snacks (and maybe some Gatorade or oral rehydration solution). You should drink at least 1L of water (approximately 1 qt) every two hours. That recommendation increases in high temperatures or if you’re doing a lot of strenuous activity.
Here’s the bad news: you can literally drink too much water. Although extremely rare, overhydration can lower the amount of sodium in your body to dangerous levels. You also lose sodium when you sweat. So it doesn’t hurt to pack a sports drink in addition to water and salty snacks. Snacks don’t have to be trail mix and beef jerky. My favorite hiking foods are siopao, steamed pork buns, fruit snacks and trail mix with jelly beans.
Bring snacks that are easy to consume while you walk and during rest breaks. Lastly, hydration packs that allow you to drink on the go can be expensive and may not work for everyone’s budget. Whether you bring a reusable water bottle or a plastic water bottle, it’s important that you stop frequently to drink! If possible, keep it in your hand as a reminder to stay hydrated, instead of in your bag, purse or day pack.

Don’t forget to factor in shade. Hiking in the direct sunlight can quickly zap your energy and water supplies. Fortunately, there’s a water fountain located at the begining of this trail (Photo credit: author).
4. Beat the heat
When I was in the Army we spent long hot summer days outside—often while wearing tens of pounds of equipment and carrying a lot more. As a result, hyperthermia or overheating was a major concern. The signs and symptoms were drilled into us so we knew what to look for in our friends and co-workers. Every training event also included “water buffaloes” (400-gallon portable stainless steel tanks) where we could top off our hydration packs, coolers full of ice and towels to treat heat exhaustion and EMTs whose primary job was to assess people for hyperthermia. Despite this, people still got muscle cramps, dizziness, nausea and vomiting before they were carried away in ambulances.
Hyperthermia is serious business. It can progress to seizures, organ failure, coma. It can be life threatening.
So what is hyperthermia exactly? During the summertime, especially, your body can overheat to a dangerous level, leading to a range of hot weather illnesses from muscle cramps to heat exhaustion to heat stroke. The irony is that when we think of the dangers present in Nature, we typically think of bears, venomous snakes, or maybe fall-related injuries. Meanwhile, hyperthermia can literally be a silent killer.
It’s important to know the signs so that you can help keep your friends and family safe—especially elderly family members and the very young. People tend to be affected differently and some of the risk factors include age, weight, recent alcohol consumption, low-sodium diets, certain medication-use and certain autoimmune illnesses.
Here are a couple of signs to watch out for:
-muscle cramps
-headache
-dizziness
-nausea & vomiting
-hot, dry skin (no longer sweating)
-confusion
-seizures
Truthfully, there’s no reason you should keep hiking if the weather is too hot, or if you don’t have enough water. The trail or park isn’t going anywhere (hopefully). You can always come back another day. Safety comes first. If you do decide to hike in hot, humid weather, or in areas that offer little shade, here are a few additional tricks for cooling off.
-don’t wait until you feel thirsty to start drinking
-plan on drinking 1L of water per hour if you are hiking in very hot or humid weather.
-use an oral rehydration solution like CeraSport to replace lost electrolytes or drink a sports drink (e.g. - Gatorade or Powerade)
-wet down a piece of fabric and wear it around your neck. A bandana works great for this. Or buy a special cooling towel
-find shade and take plenty of breaks to rest and drink water
-wear a hat to shield your face from direct sunlight

What type of mobility aids do you use while hiking? My 70-year-old Mom uses a walking stick for balance (Photo credit: author).
5. Use mobility aids
Mobility aids make it easier to get around and hiking mobility aids are no exception. Make sure you choose one that works for your needs. I love hiking in southwest Virginia where many gas stations sell walking sticks to the tourists that flock to its state parks and scenic white blazes off the Appalachian Trail each Fall. Walking sticks are great for balance and support on uneven ground. Trekking poles are another option, albeit pricier. In the winter, chains that attach to the underside of your shoes can help you avoid slipping in snow or ice.
Finally, if you’re a full-time mobility aid user like me it’s important to look up the trail ahead of time to determine which mobility aid to bring. I use elbow crutches 24/7 but I also rely on a rollator and wheelchair as needed. I read as many reviews as I can before I try a new trail. If it’s paved with short moderate inclines and I’m feeling fatigued I might bring my rollator. If it’s paved and flat and listed as wheelchair friendly I will usually call ahead to confirm before bringing my chair. If the trail has a lot of steps I may just bring one elbow crutch since I’d just end up using one and holding the other anyways while ascending and descending. Or I won’t go. If the trail has long inclines or if it’s a long hike, I always bring both elbow crutches. Anyways, mobility aids are for everyone. Whether you’re disabled or not, they're a great way to hike safely!
Lastly, while these aren’t technically mobility aids, I am always on the lookout for benches, rest areas and fire roads while researching a new hike. Even simple benches constructed from fallen tree trunks make trails more accessible. Fire roads make it easier for mobility aid users of all ages and skill levels to enjoy Nature. They're also a good resource for families with small children and for anyone interested in a more socially distanced hike.
Conclusion
Hope these hiking tips help you plan your next nature walk. Learn more about which hiking essentials you should bring on your next day hike here.


In the United States, public lands are accessible to everyone, in theory—but only if you know the inside baseball. This article breaks down the four largest federal public land managers, plus three more you probably haven’t heard of, so you can get outside with family and friends this summer.